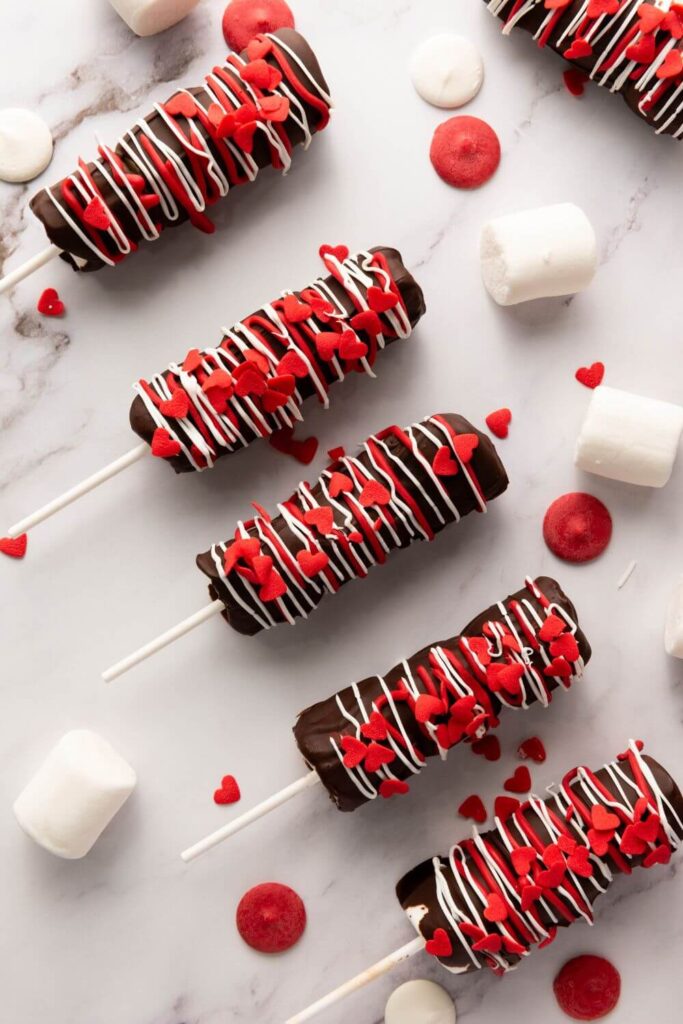
Easy Valentine’s Day Marshmallow Pops
Looking for a treat that’s as adorable as it is delicious? Valentine’s Day Marshmallow Pops are the perfect answer.
These sweet, festive pops are easy to make, totally customizable, and guaranteed to impress.
Whether you’re surprising someone special or just want a fun activity for the holiday, these marshmallow pops tick every box.
Think chocolate, sprinkles, and all the Valentine’s charm—what’s not to love?
Let’s keep it simple, yummy, and straight from the heart!
Save this pin to Pinterest:

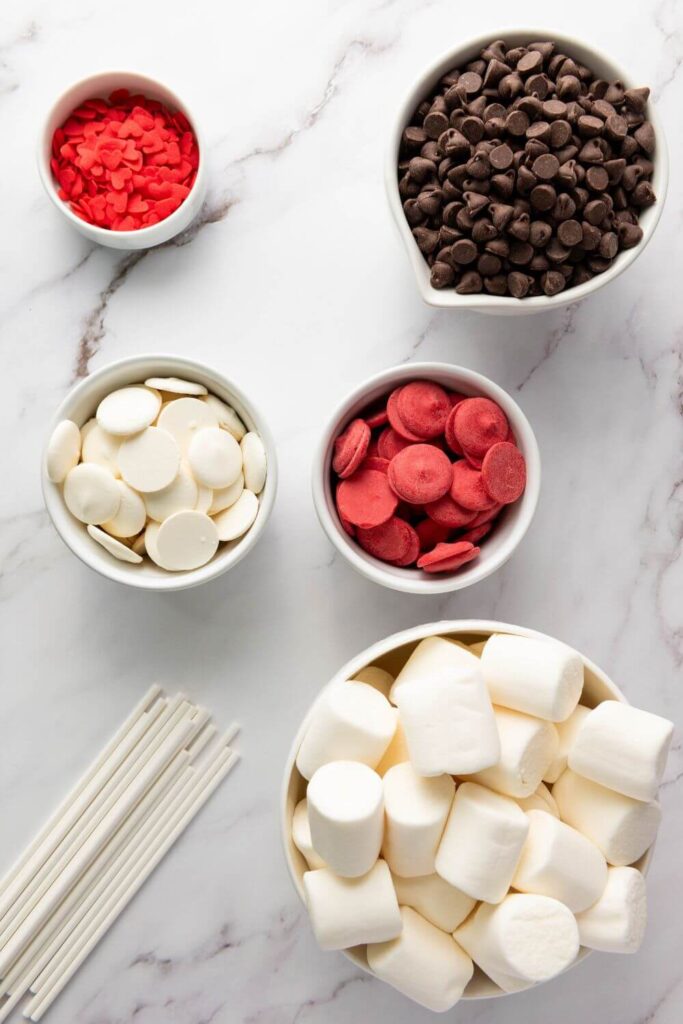
Ingredients
Here’s what you need to make these Valentine’s Day Marshmallow Pops:
- 36 large marshmallows – The star of the show! Use 3 marshmallows per stick to create sturdy, fluffy layers. Their soft texture makes them a perfect canvas for all the chocolate and decorations.
- 1 1/2 cups of semi-sweet or milk chocolate chips – This is the base layer for coating. Semi-sweet chocolate offers a slightly bitter richness that balances the sweetness of the marshmallows, while milk chocolate is creamier and sweeter. Both options work well—choose your favorite or use what you have on hand.
- 1/2 cup each of white and red candy melts – These add festive Valentine’s Day flair. The candy melts create beautiful drizzles that elevate the pops from simple treats to show-stopping desserts. If you don’t have candy melts, colored white chocolate or tinted icing works too.
- 1/4 cup of red heart sprinkles – These sprinkles bring texture, color, and that unmistakable Valentine’s charm. Feel free to mix in other shapes or styles if you’re looking to add more variety!
Additional tools
- 12 lollipop sticks or decorative straws – These are necessary for assembling the pops. Lollipop sticks work great, but decorative straws add extra charm and come in fun, Valentine-themed patterns.
- Parchment paper – A must-have tool to keep your pops from sticking to your surface while the chocolate sets, making cleanup easier too.
How to Make It
Getting started on Valentine’s Day Marshmallow Pops is easier than you might think.
With just a few simple steps, you’ll have a batch of festive treats that look straight out of a Pinterest board.
Let’s break it down and get those marshmallows dressed to impress!
I’ve also added the full list of ingredients and step-by-step instructions in the printable recipe card below!
1. Assemble the Marshmallows
First things first: building the base of your marshmallow pops! Grab your lollipop sticks or decorative straws and those fluffy marshmallows.
- Thread three large marshmallows onto each lollipop stick or straw.
- Leave a little space between each marshmallow to make dipping and decorating easier.
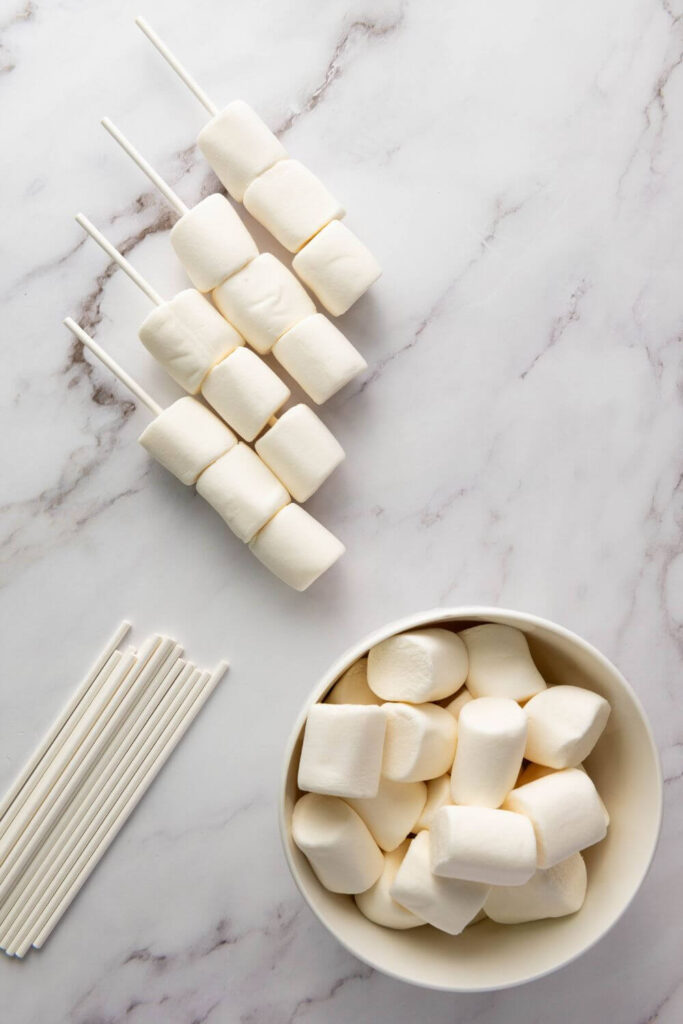
Keeping the spacing even helps them coat smoothly and look picture-perfect when finished. Don’t rush this part—it’s worth taking the extra minute to line them up nicely.
2. Melt the Chocolate
Chocolate is the key to these pops, so this step matters. You’ll want it smooth, silky, and ready for dipping—without burning it (trust me, we’ve all been there).
- Add 1 1/2 cups of semi-sweet or milk chocolate chips to a microwave-safe bowl.
- Microwave in 20-second bursts, stirring between each session. This keeps the chocolate from overheating.
- Once melted and smooth, let it sit for about 30 seconds to cool slightly.
Quick tip: If the chocolate feels too thick, add just a teaspoon of coconut oil or vegetable shortening. This gives it a shinier finish and makes dipping a breeze!
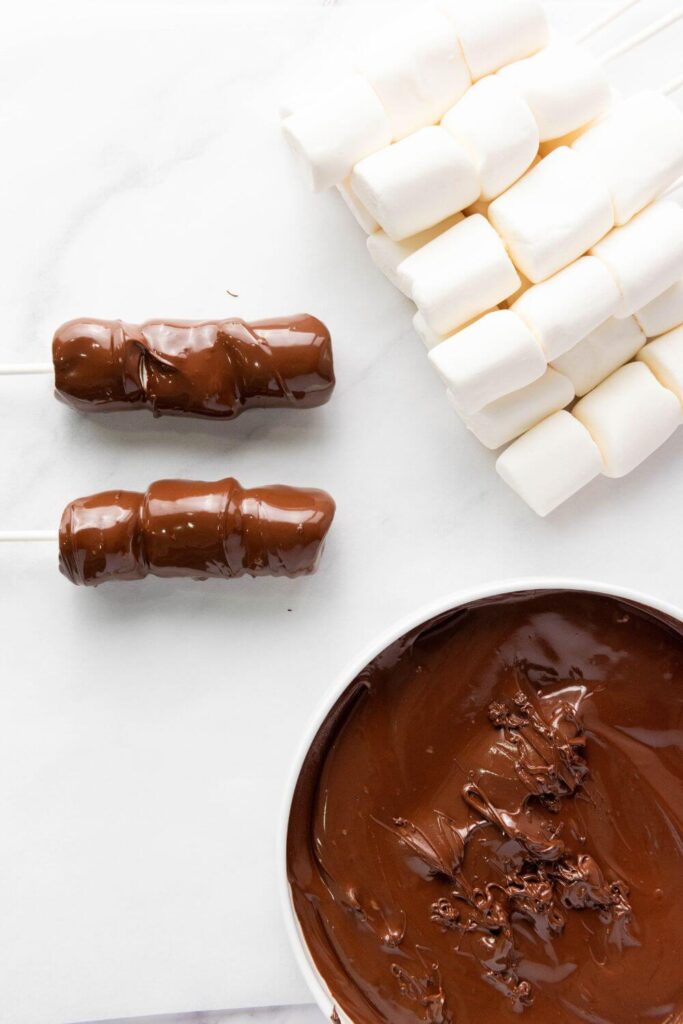
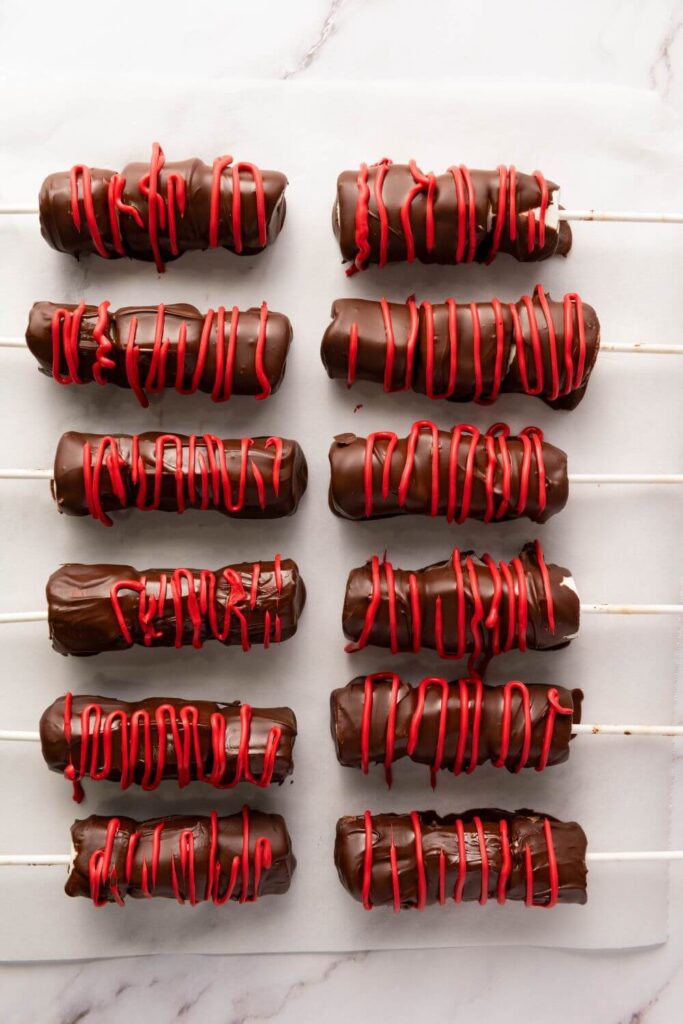
3. Dip the Marshmallow Pops
Here comes the fun (and slightly messy) part—getting those marshmallows completely covered in chocolate.
- Hold the end of your stick or straw and gently dip all three marshmallows into the melted chocolate.
- Tilt the bowl as needed to get full coverage, and rotate the stick while pulling it out to avoid uneven patches.
- Tap the stick lightly on the edge of the bowl to shake off any extra chocolate.
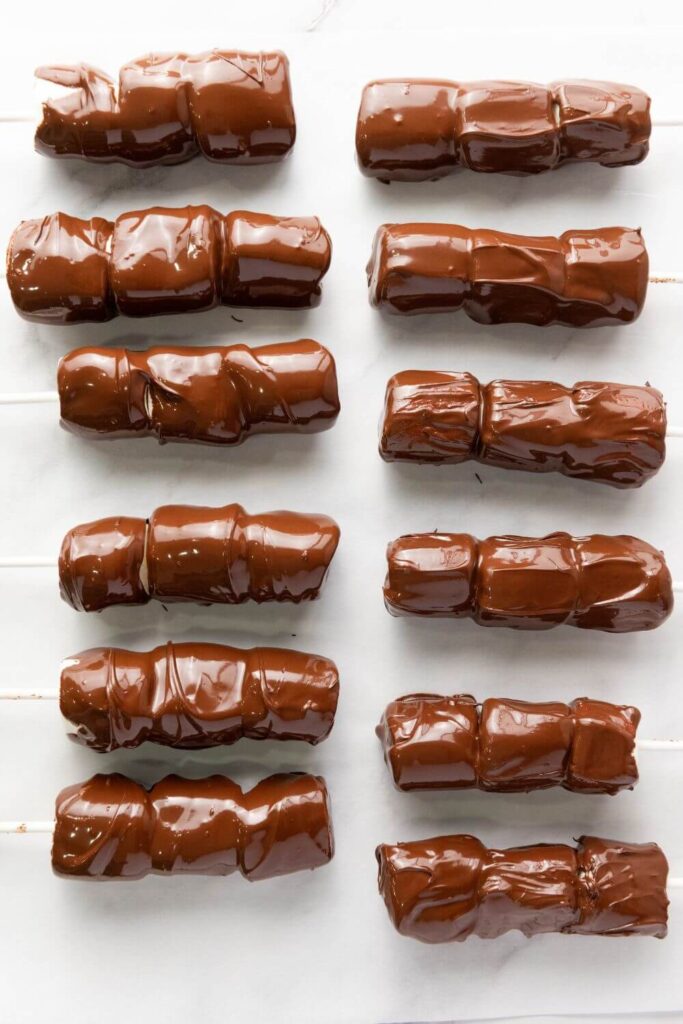
Place the dipped marshmallows onto a parchment-lined baking sheet so they can set. Trust me, parchment paper is a lifesaver here—it keeps the pops from sticking and makes cleanup painless.
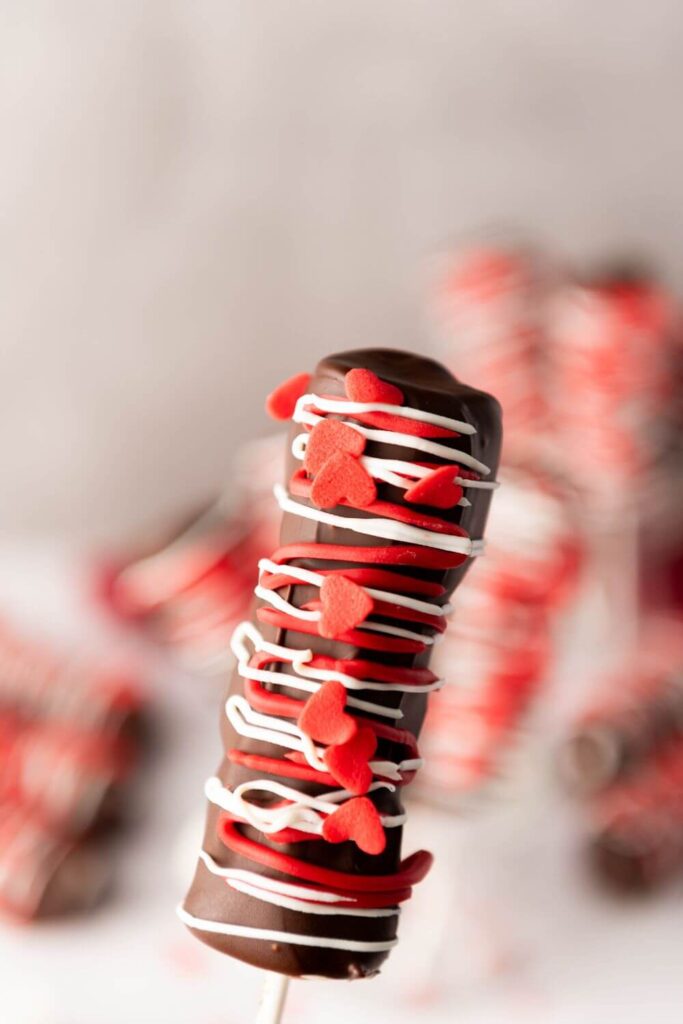
4. Add the Drizzle and Sprinkle Magic
Here’s where your Valentine’s Day creativity can really shine. Time to decorate like it’s your favorite rom-com montage!
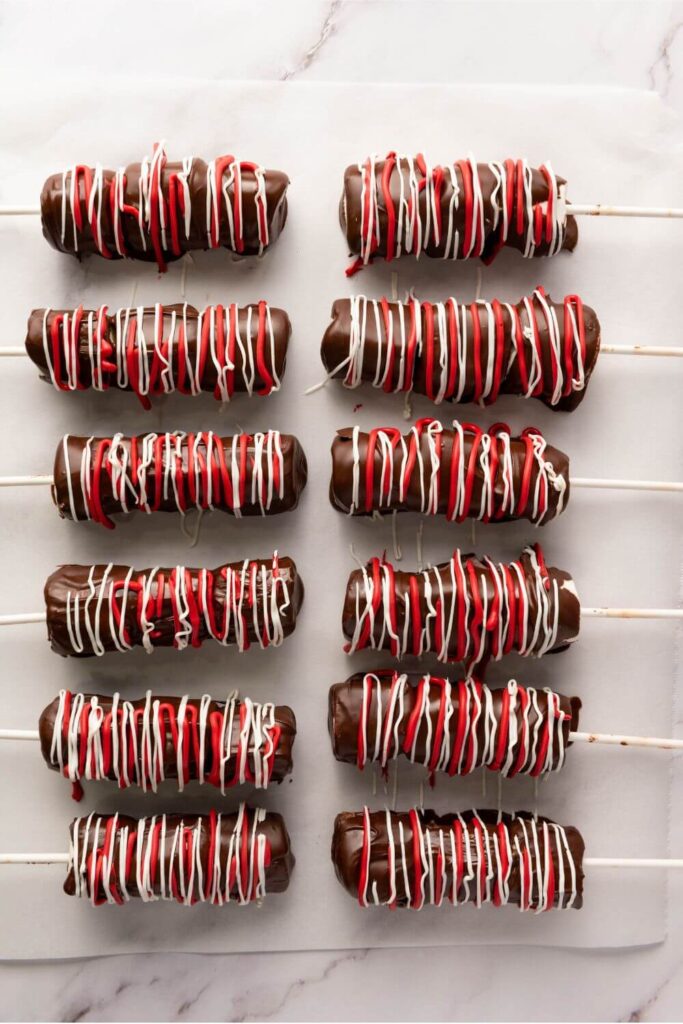
- Melt the white and red candy melts in separate bowls using the microwave (same method as the chocolate).
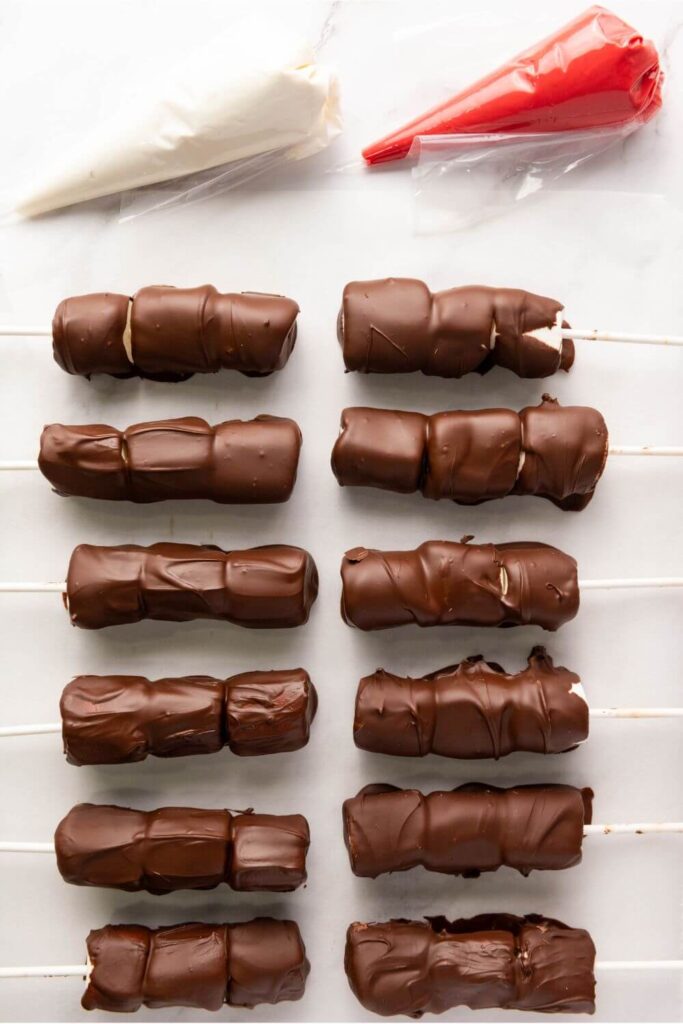
- Use a spoon or a small piping bag to drizzle the melted candy over the chocolate-coated marshmallows. Create zigzags, loops, or whatever design speaks to your Valentine vibe.
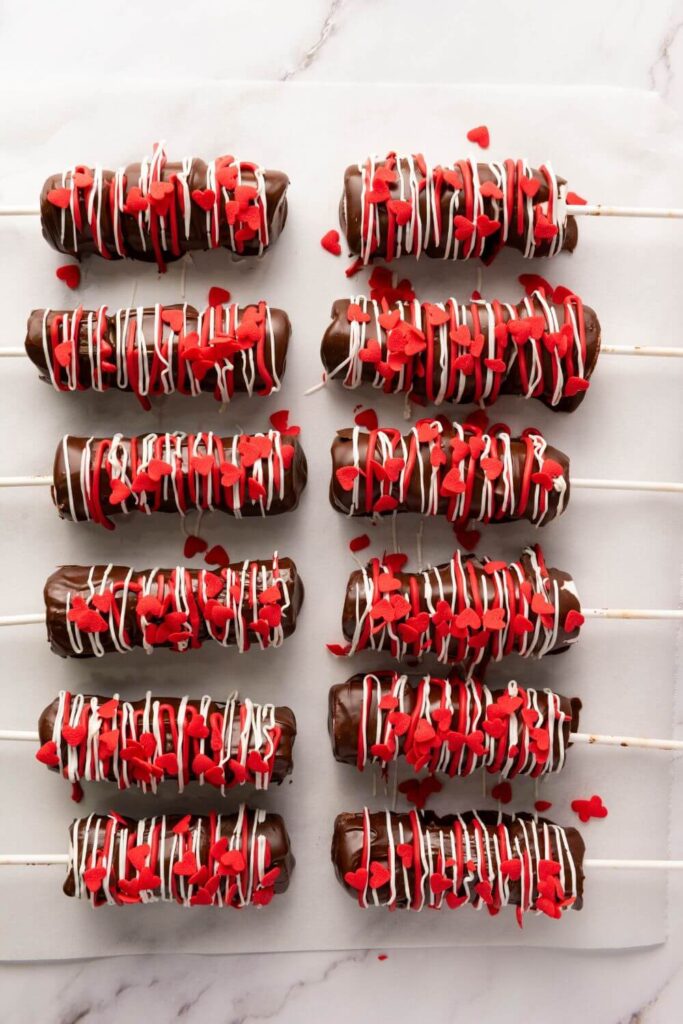
- While the candy drizzle is still tacky, sprinkle on red heart sprinkles for that final festive touch.
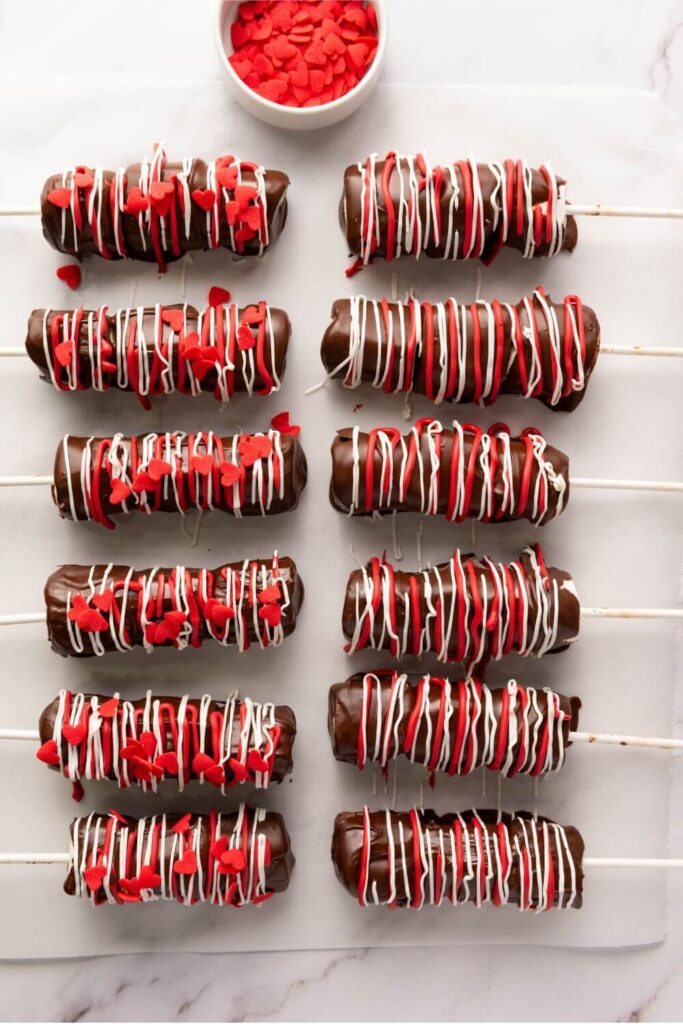
Not a sprinkle fan? Swap in colored sugar, edible glitter, or even mini M&Ms. The options are literally endless, so go with what makes you happy!
5. Let It Set
Patience is key here, even if staring at these pops makes your mouth water.
- Leave the pops on the parchment-lined baking sheet and let everything set at room temperature for around 30 minutes, or until the chocolate and candy melts are completely firm.
If you’re in a rush (or just don’t trust yourself not to sneak one early), you can pop them into the fridge for a few minutes. Once hardened, they’re ready to enjoy!
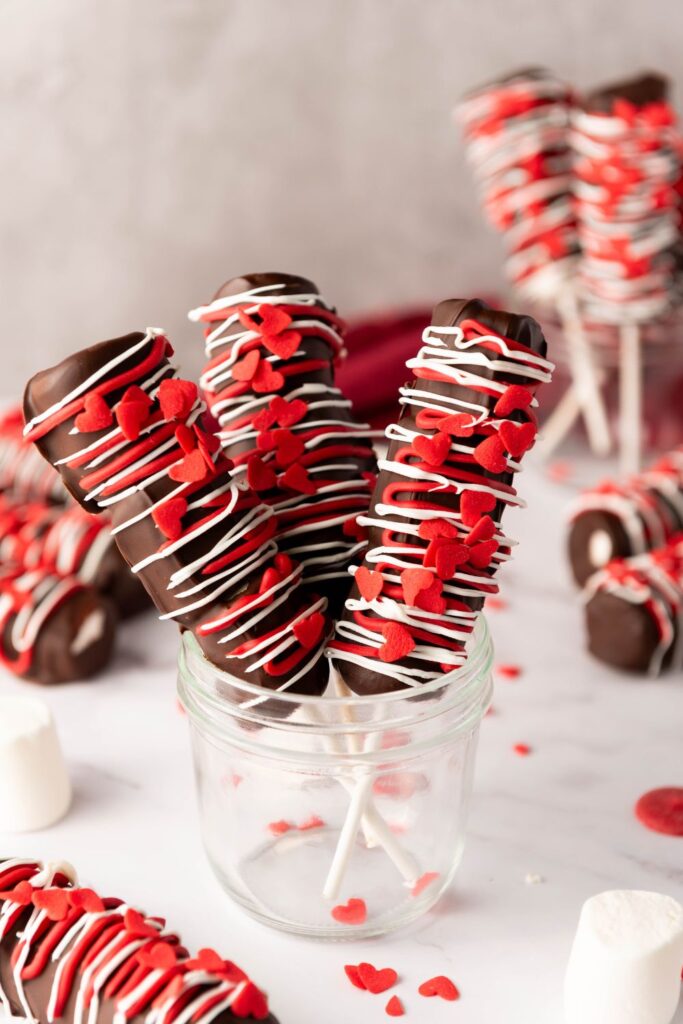
Creating these marshmallow pops is all about having fun while keeping it simple. With just a little effort, you’ll have an edible Valentine’s Day masterpiece that’s perfect for gifting, parties, or just devouring on the couch. Easy, right?
Creative Variations of Marshmallow Pops
When it comes to marshmallow pops, half the fun is in the creativity!
Sure, Valentine’s Day deserves red, white, and heart sprinkles, but why stop there?
These pops can easily transform into treats for other occasions, making them the perfect go-to dessert all year round.
Let’s explore some fun ways to shake things up—whether that’s experimenting with colors and flavors or swapping out marshmallows altogether for something totally unexpected.
Color and Flavor Variations
Changing up colors and flavors is one of the easiest ways to customize your marshmallow pops. Think outside the typical pinks and reds to match any celebration or special event.
- Candy Melts: Swap the red and white candy melts for hues that fit the occasion. For example:
- Blues and silvers for a winter theme.
- Pastels for Easter or a spring baby shower.
- Bright primary colors for a birthday party.
- Sprinkle Options: Let’s be real—sprinkles make everything more fun. Mix and match designs like confetti sprinkles, stripes, or themed shapes (e.g., stars for July 4th or pumpkins for fall).
- Flavor Boosts: Add extra flavor to your chocolate base by mixing in an extract. A drop or two of mint or orange extract can complement seasonal vibes. Want something bolder? Try peanut butter melts instead of plain chocolate.
Tips for Perfect Marshmallow Pops
Making Valentine’s Day Marshmallow Pops is fun and fairly simple, but a great final result comes down to avoiding a few pitfalls and handling your pops with care.
If you’re having trouble getting a smooth chocolate coating or need to know the best way to store them, this section will help set you up for success.
Common Mistakes to Avoid
Even with the easiest recipes, things can go sideways. Don’t worry, though—I’ve got solutions for the most common marshmallow pop mishaps right here!
- Overheating the Chocolate: This is probably the #1 issue people run into. Chocolate can seize up if it overheats, turning into a thick, grainy mess that’s impossible to use. To avoid this:
- Stick to heating it in short, 20-second intervals in the microwave.
- Stir well between each burst to evenly distribute the heat.
- If it’s still too thick, add a teaspoon of coconut oil or vegetable shortening to smooth it out.
- Messy Dipping: Uneven chocolate or overly thick coatings can make your pops look less polished (not to mention hard to eat!). A few tips:
- Tilt the bowl for better coverage when dipping the marshmallows.
- Gently tap the stick against the edge of the bowl to shake off excess chocolate.
- Spin the marshmallows while lifting them out to avoid dripping or pooling.
- Chocolate Won’t Stick: If the chocolate is sliding off the marshmallows, the surface of the marshmallows could be too slick. To fix this:
- Let the marshmallows sit out for about 10 minutes before dipping to allow the surface to “dry” slightly.
- Be sure the chocolate isn’t too hot; if it’s steaming, it might not adhere properly.
- Sprinkles Drop Off: Timing is everything! If the sprinkles aren’t sticking, it’s likely because you’re waiting too long to apply them. Add any decorations immediately after drizzling the candy melts so they adhere before the chocolate hardens.
Mistakes happen, but most are easy to correct—just keep these tips handy, and you’ll have picture-perfect pops every time!
Storage Tips
Making your pops ahead of time? No problem! Proper storage is key to keeping them fresh, tasty, and just as gorgeous as when you made them. Here’s how to do it:
- Let Them Set Fully: Before storing, make sure every layer of chocolate and candy melt is completely firm. Rushing this step could result in smudged decorations or stuck-together pops.
- Use Airtight Containers: Transfer the pops to an airtight container to protect them from moisture and air, which can affect the texture and flavor. To keep them from sticking together, layer parchment paper between rows.
- Keep Them Cool: Chocolate-coated treats love a cool environment, but not too cold. Store your marshmallow pops at room temperature or slightly cooler—avoid direct sunlight, warm kitchens, or anything that could cause the chocolate to soften or melt.
- Fridge Storage (Optional): If you need to store them longer, consider refrigeration. Just be cautious about humidity that might cause condensation when you take them out. To prevent this, let the container come to room temperature before opening it.
- Shelf Life: These pops will taste their best within 2–3 days of making them. After that, the marshmallows might start to harden a bit, but honestly, they’ll probably be long gone by then!
Taking the time to store your Valentine’s Day Marshmallow Pops correctly ensures they stay fresh and Instagram-ready, whether you’re prepping ahead for a party or whipping up a batch for last-minute gifts. With these tips in mind, you’ll be a marshmallow pop pro!
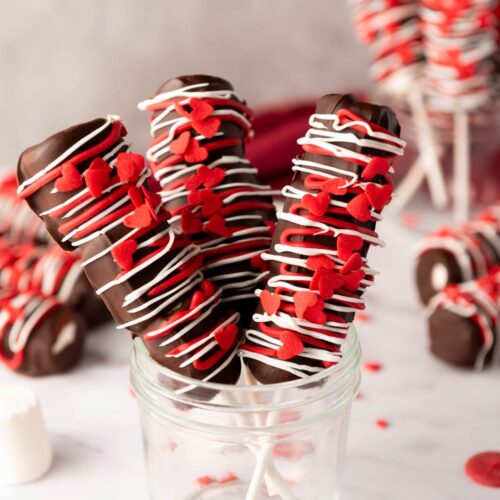
Valentine’s Day Marshmallow Pops
Equipment
- 12 lollipop sticks or decorative straws
- Parchment paper
- Baking sheet
Ingredients
- 36 large marshmallows
- 1 1/2 cups semi-sweet or milk chocolate chips
- 1/2 cup white candy melts
- 1/2 cup red candy melts
- 1/4 cup red heart sprinkles
Instructions
- Assemble the MarshmallowsFor each lollipop stick or straw, push 3 marshmallows onto it, leaving a bit of space between each marshmallow for easier dipping and decorating.
- Melt the ChocolateIn a microwave-safe bowl, melt the chocolate chips in 20-second increments, stirring in between until smooth. Avoid overheating.
- Dip the Marshmallow PopsHold each stick and dip all three marshmallows into the melted chocolate, gently tapping the stick on the edge of the bowl to remove excess chocolate.
- Set the Chocolate CoatingPlace the chocolate-dipped marshmallow pops on a parchment-lined baking sheet.
- Drizzle with White and Red Candy MeltsMelt the white and red candy melts separately in microwave-safe bowls. Using a spoon or piping bag, drizzle the white candy melts over the chocolate-covered marshmallows. Repeat with the red candy melts and then add heart sprinkles.
- Let Harden and ServeLeave the pops on the parchment paper until the chocolate and candy melts are completely set. Once hardened, they’re ready to serve and enjoy!