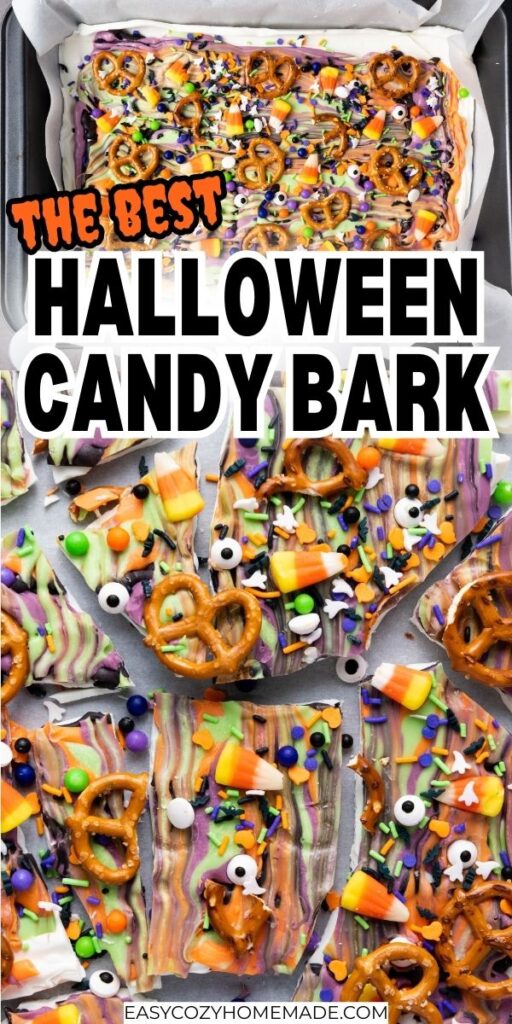
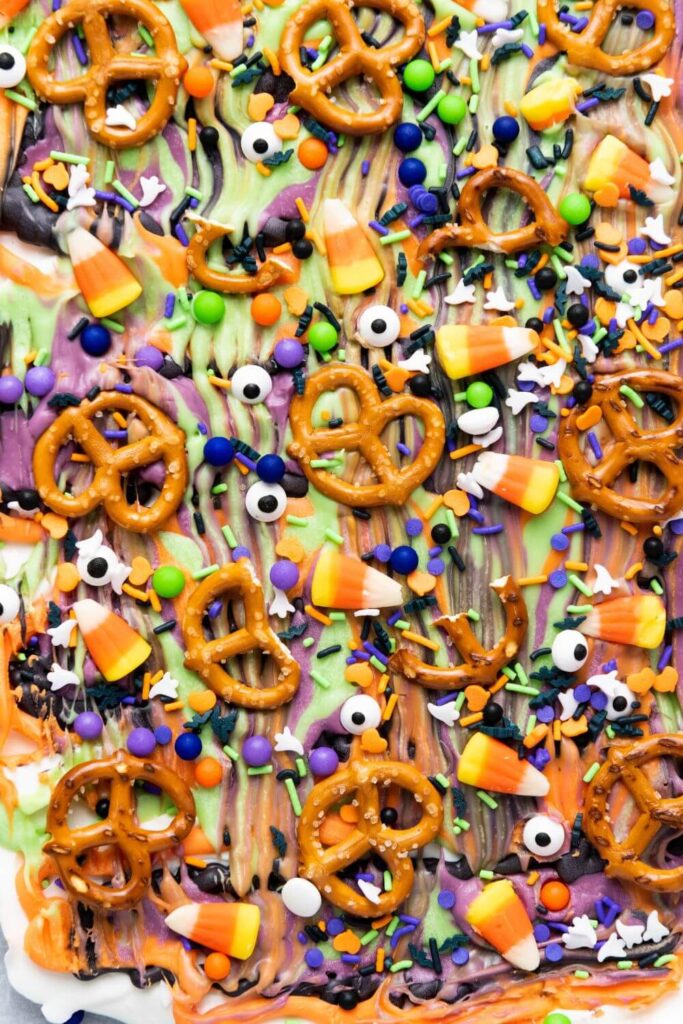
Halloween Candy Bark Treat
Halloween candy bark is hands-down one of my favorite lazy-day treats.
You melt, you swirl, you sprinkle, and suddenly you have a candy masterpiece that practically shouts, “It’s Halloween!”
There’s no timer screaming at you, no tricky measuring, and—my personal favorite—no fussy baking involved.
Save for later:
It’s bright, it’s fun, and breaking it into pieces is weirdly satisfying (I know I’m not alone here—cracking bark is therapy).
Around this house, the promise of chocolate swirls and crunchy toppings usually makes everyone drop what they’re doing and migrate to the kitchen.
Let’s get into the good stuff (the candy and how to turn it into bark!).
Ingredients
Let’s talk about what goes into this Halloween candy bark—because it’s all about picking the flavors and colors you want to see. Here’s what I use to serve up to 12 people, but feel free to riff on this:
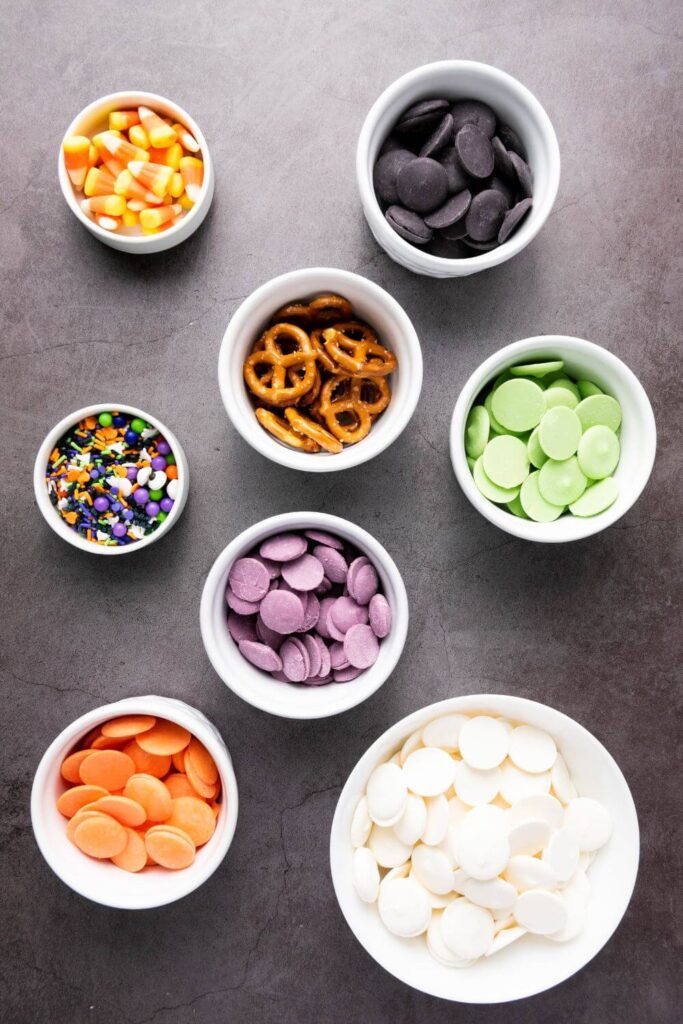
- 12 oz white candy melts
These give you a smooth, creamy base that lets the fall colors pop! Grab the kind that melts easy (the kind you find near baking supplies). - 1/4 cup orange candy melts
Orange just feels like Halloween. It’s the color of pumpkins and those classic candy wrappers. - 1/4 cup purple candy melts
If you want something bold and a little witchy, purple earns its spot. - 1/4 cup green candy melts
Add some slime vibes—why not? This color always wins with kids. - 1/4 cup black candy melts
These are a must. They give nice depth to the marble effect and a real haunted feel. - 1/2 cup candy corns
Love them or leave them, but they are instantly recognizable and add satisfying chew. - 1/2 cup mini pretzels, broken into pieces
Because sweet needs salty. And honestly, the crunch is unbeatable. - Halloween-themed sprinkles
These are the finishing touch: bats, pumpkins, eyeballs, or just classic colorful jimmies. Go nuts.
Tips for Ingredients
Don’t stress about perfection here. If you don’t have every color, skip one.
Forgot pretzels? Use popcorn or nuts.
Bark forgives most mistakes—and kids won’t notice if the orange is a little more tangerine than jack-o’-lantern. That’s the magic.
How to Make It
Making Halloween candy bark is so simple, it almost feels like cheating. But trust me, the results are something people will talk about. Here’s how I do it, step by step:
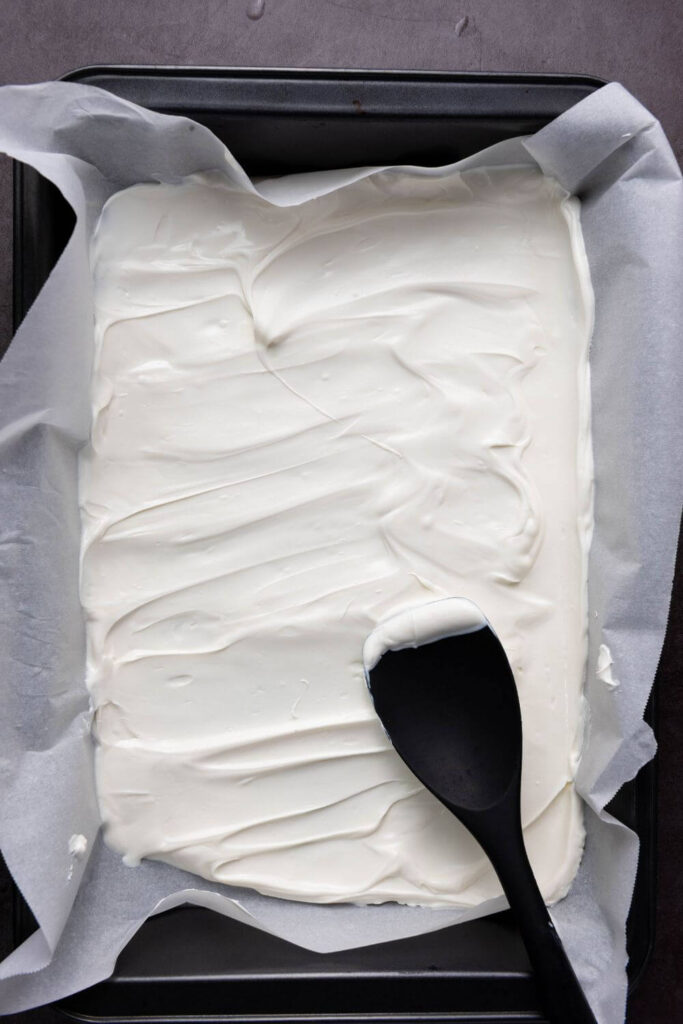
1. Prepare Your Baking Sheet
First, line a baking sheet with parchment paper or a silicone mat. This keeps the bark from sticking to the tray, and clean-up will basically be a non-event. Lay it flat and try to smooth out any big wrinkles.
2. Melt the White Candy
Use a microwave-safe bowl for the white candy melts. Melt them in short, 30-second bursts, stirring after each one. Keep going until it’s smooth and glossy. Don’t overdo it or it gets clumpy.
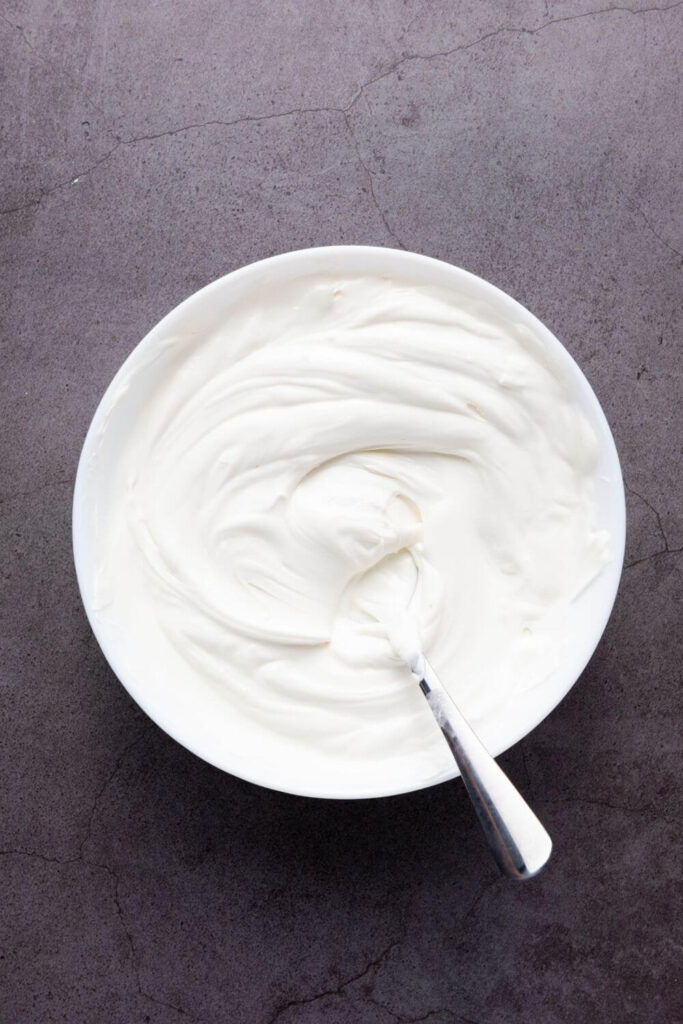
Hack: If you’ve got a double boiler, use it—zero chance of burning the candy. But the microwave is fine too (lazy times are real).
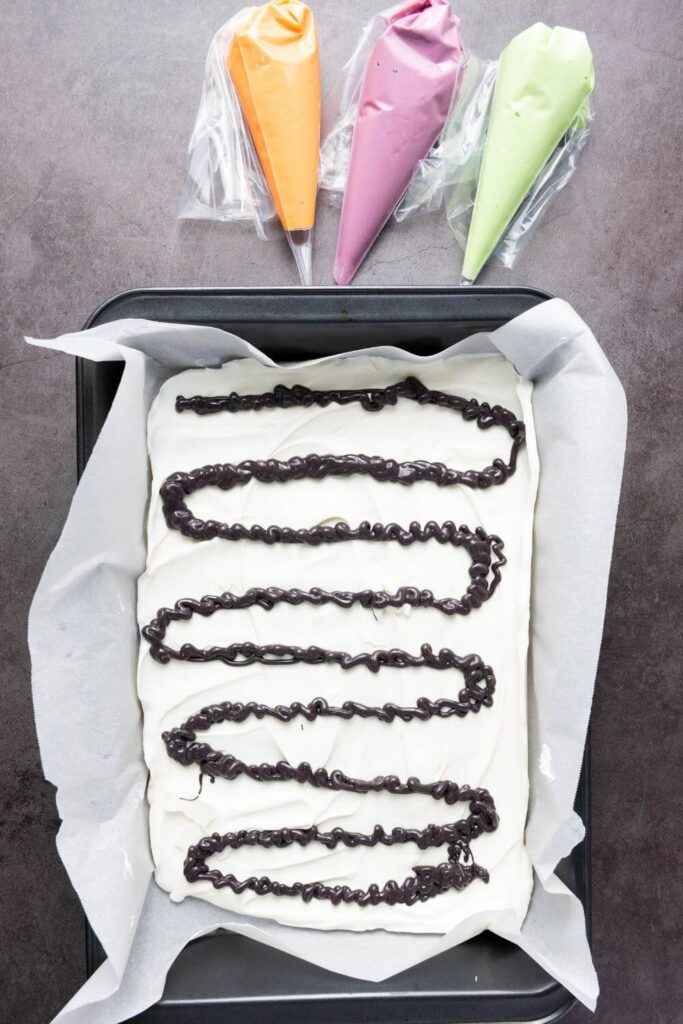
3. Spread the Candy Base
Once it’s all melted, scrape the white candy onto the baking sheet. Use a spatula to spread it out—about a quarter-inch thick is just right. Not too thin or it’ll break apart; not too thick or it’s hard to bite.
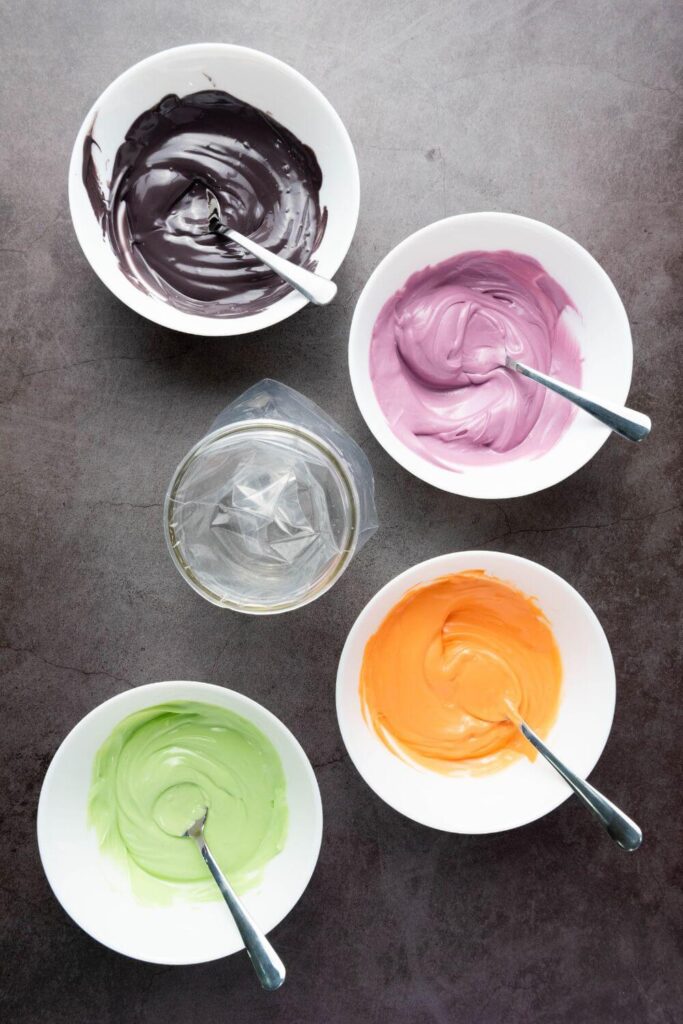
4. Melt the Colored Candy Melts
Grab four small bowls and melt your orange, purple, green, and black candy melts. Again, microwave them in 30-second hits, stirring each time. They should all be pourable but not watery.
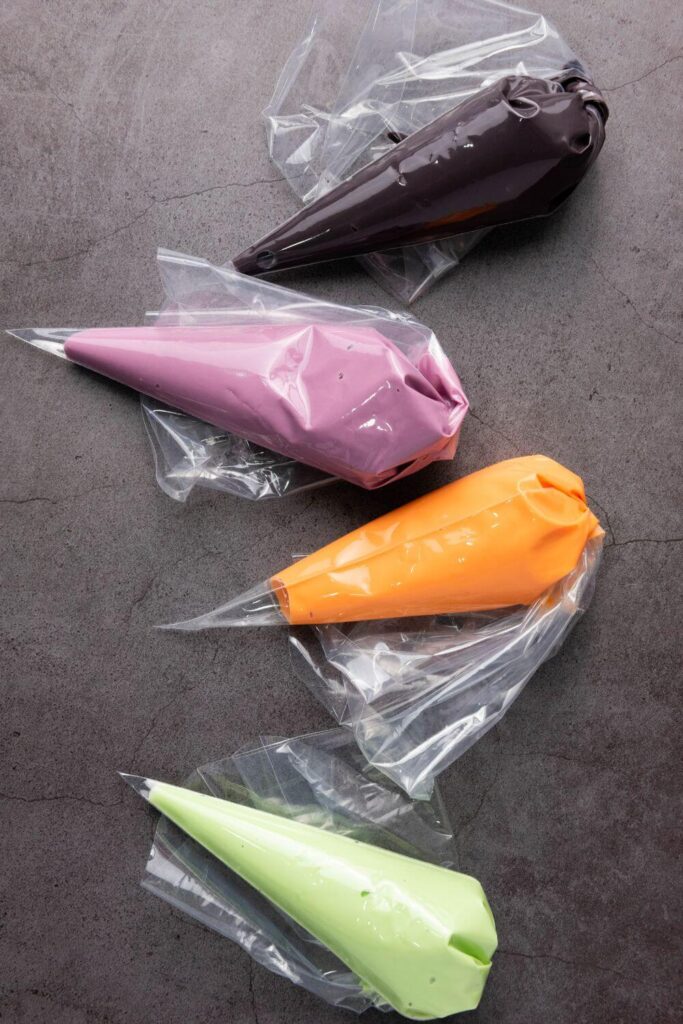
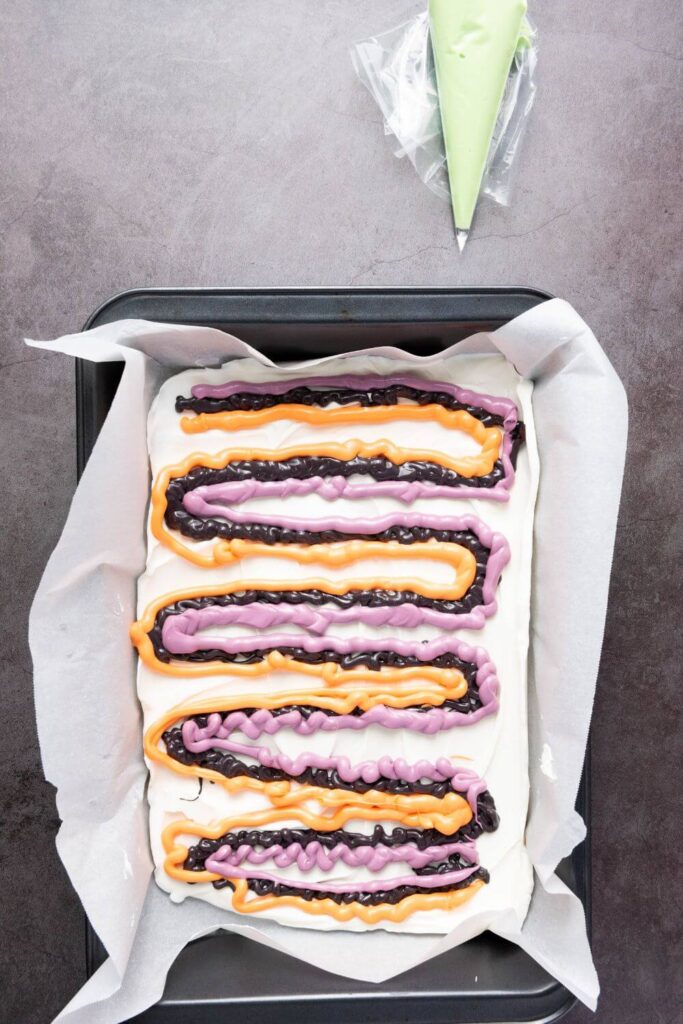
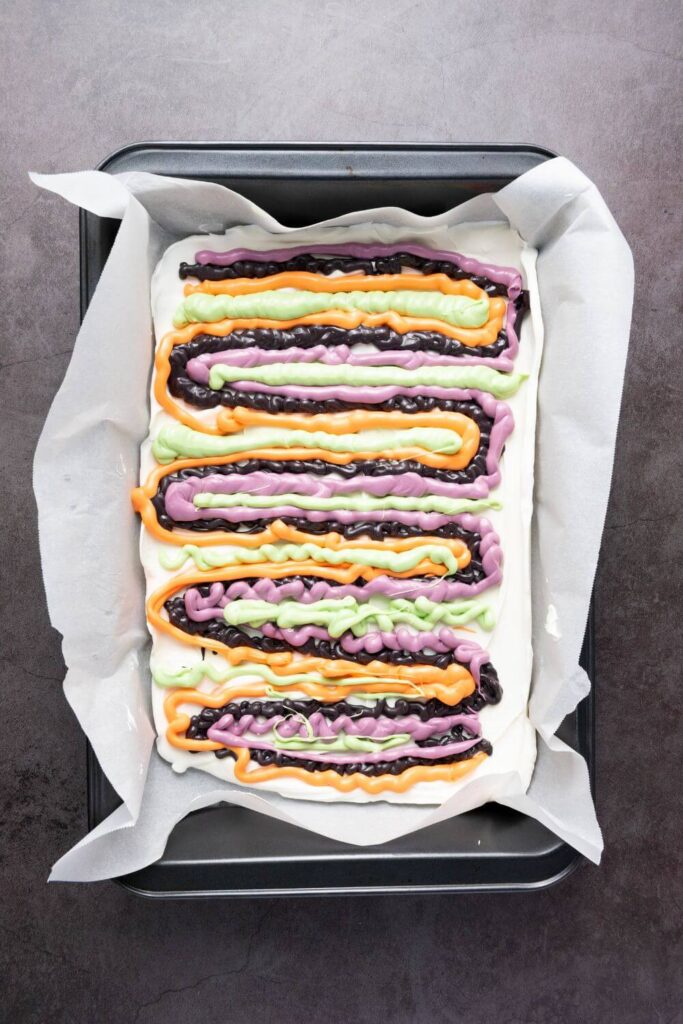
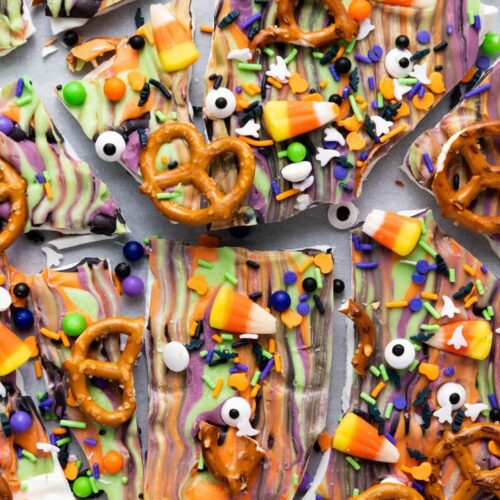
5. Make the Swirls
Here’s where the magic happens. Use a piping bag or drop spoonfuls of each color over the white base. Don’t stress—just plop them on randomly.
Then, take a toothpick or a wooden skewer and gently drag it through the candy to swirl the colors. Zig-zags, circles—let your hand do what it wants. You can’t mess this up.

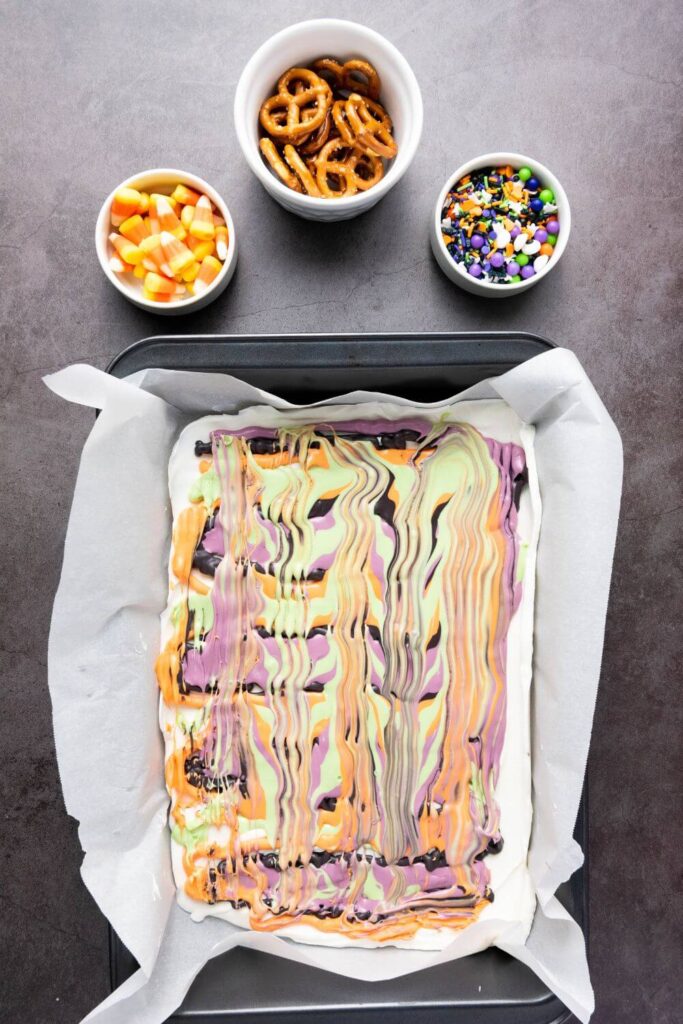
6. Add the Toppings
Now, go wild! While the candy’s still soft, quickly sprinkle candy corns, pretzel pieces (or whole pretzels if you prefer), and all those Halloween sprinkles on top.

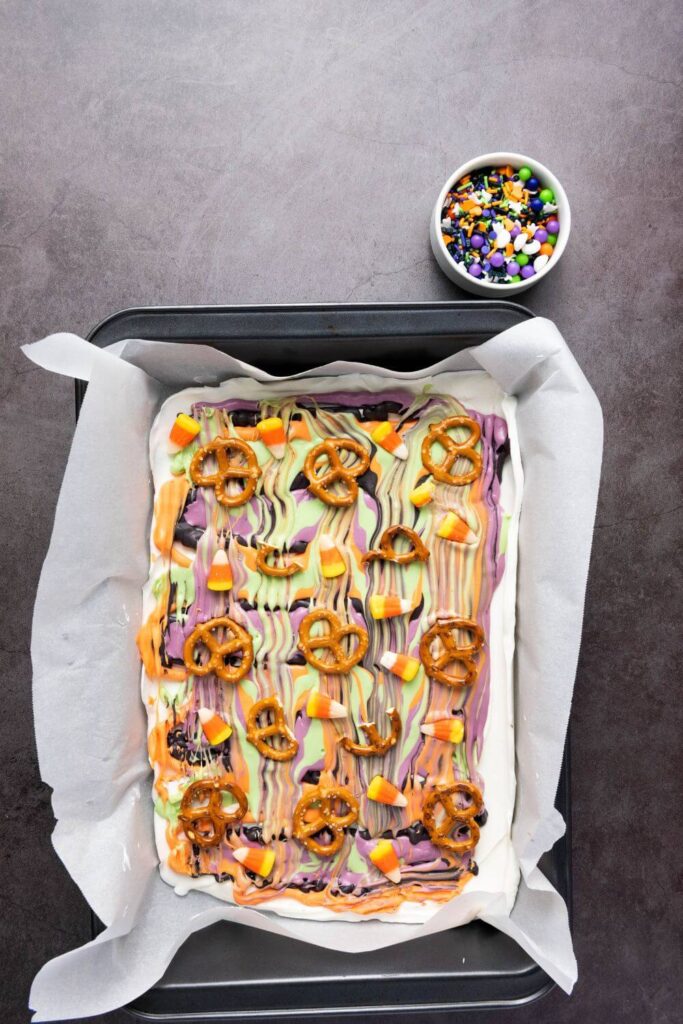
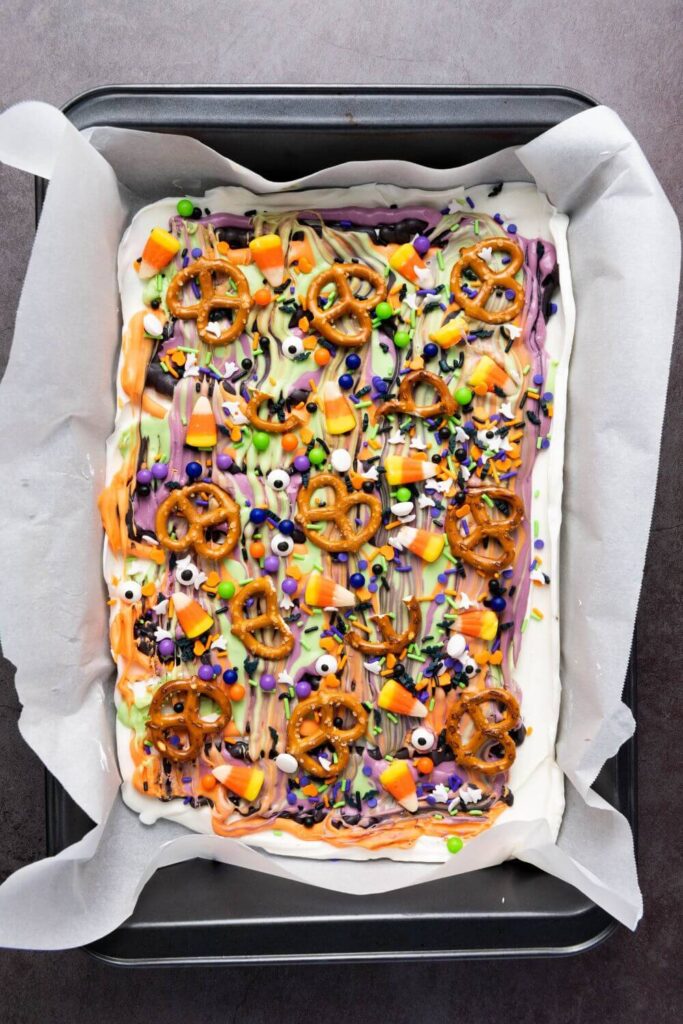
Press them in a little so they stick. You want a good mix—something chewy, something salty, something crunchy.
7. Set the Bark
Here’s the hardest part: waiting for the bark to set. If you have patience, let it sit out at room temp for 1 to 2 hours. The impatient (me) can pop it in the fridge for about 30 minutes. As soon as it’s firm, it’s go time.
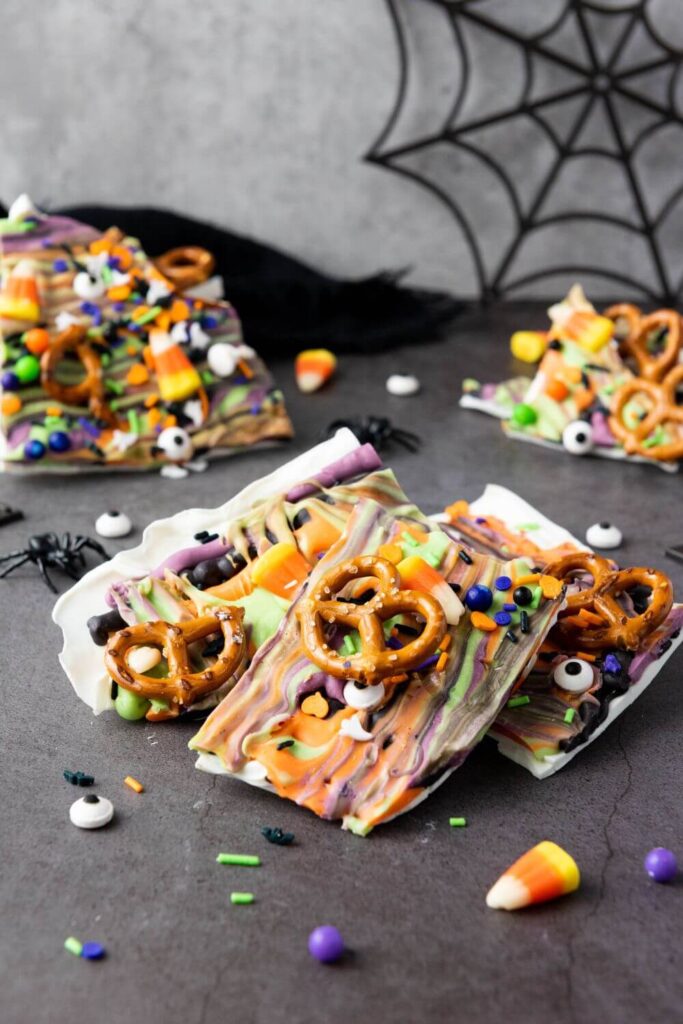
8. Break Into Pieces
There’s something oddly satisfying about cracking candy bark into chunks. Use your hands, or let a big knife do the work. Don’t worry about perfect squares—jagged edges are part of the fun.
9. Serve and Store
Pile the candy bark into an airtight container. It keeps for several days at room temp, though it might disappear a whole lot faster.
Halloween Candy Bark
Ingredients
- 12 oz white candy melts
- 1/4 cup orange candy melts
- 1/4 cup purple candy melts
- 1/4 cup green candy melts
- 1/4 cup black candy melts
- 1/2 cup candy corns
- 1/2 cup mini pretzels broken into pieces
- Halloween-themed sprinkles
Instructions
- Line a baking sheet with parchment paper or a silicone baking mat.
- In a microwave-safe bowl, melt the white candy melts in 30-second intervals, stirring well after each interval until smooth and fully melted.
- Pour the melted white candy onto the prepared baking sheet and spread it into an even layer using a spatula. Aim for about 1/4 inch thickness.
- In separate microwave-safe bowls, melt the orange, purple, green, and black candy melts in 30-second intervals, stirring well after each interval until smooth and fully melted.
- Drop spoonfuls of each color of melted candy melts onto the white candy layer. Use a toothpick or skewer to swirl the colors together, creating a marbled effect.
- Immediately sprinkle the candy corns, broken pretzels, and Halloween-themed sprinkles over the swirled candy. Press the toppings gently into the candy to ensure they stick.
- Allow the bark to set at room temperature for about 1-2 hours, or place it in the refrigerator for quicker setting (about 30 minutes).
- Once fully set, break the bark into pieces using your hands or a knife.
- Serve and enjoy. Store the Halloween candy bark in an airtight container at room temperature.