Valentine’s Cake Pops
Who’s looking for a Valentine’s Day treat that looks fancy but uses cake mix from a box? That’s these cake pops right here.
Just to warn you though, if you’re looking for some complicated French pastry tutorial, this isn’t really it, instead, this recipe is more like I-have-a-cake-mix-and-frosting-let’s-make-something-cute practical. Easy enough that I can do it on a Tuesday night.

Kinda nostalgic too because remember making cake balls with your mom or at sleepovers? Same energy with these cake pops! The recipe makes 20 pops which seems like a lot until everyone eats them in five minutes, ha.

Box cake, store frosting, and some chocolate melts – that’s your ingredient list. You can make them pink or red or white, write something cute on them, whatever matches your vibe! Perfect for bringing to work as a fun Valentines day treat for everyone, or just to treat your loved one.
Ingredients
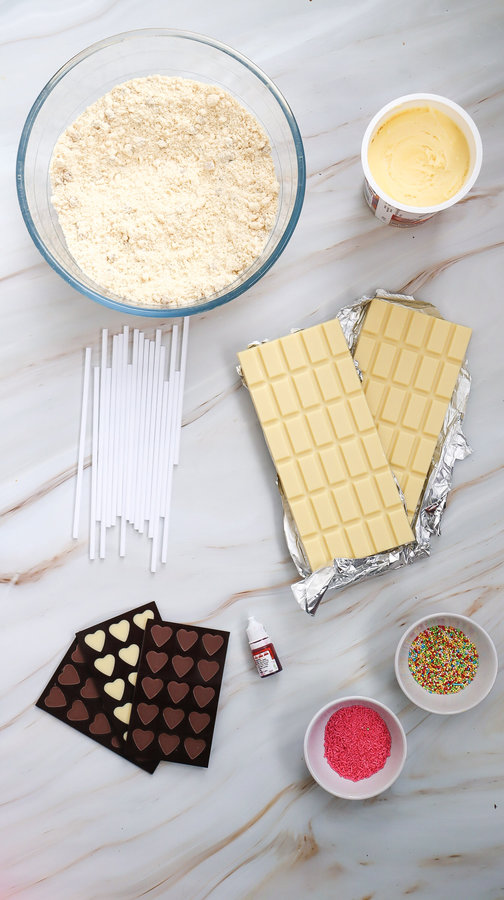
- 1 cake mix (the 9×13 inch size) — I like red velvet or strawberry but pick whatever you’d like best!
- 1 tub of Betty Crocker frosting, the 15.6 oz one — just get a flavor that you think will taste good with your cake.
- 20 lollipop sticks
- 12 oz white chocolate chips (or those melting wafer things work great)
- Pink or red food coloring
- Heart-shaped chocolates or icing to make them pretty
- 2 tbsp sprinkles, your favorite kind
- Writing icing if you want (optional for messages and stuff)
How to do it
Step 1: Bake the Cake
Bake your cake first. Just do what the box says! Then wait for it to cool down.
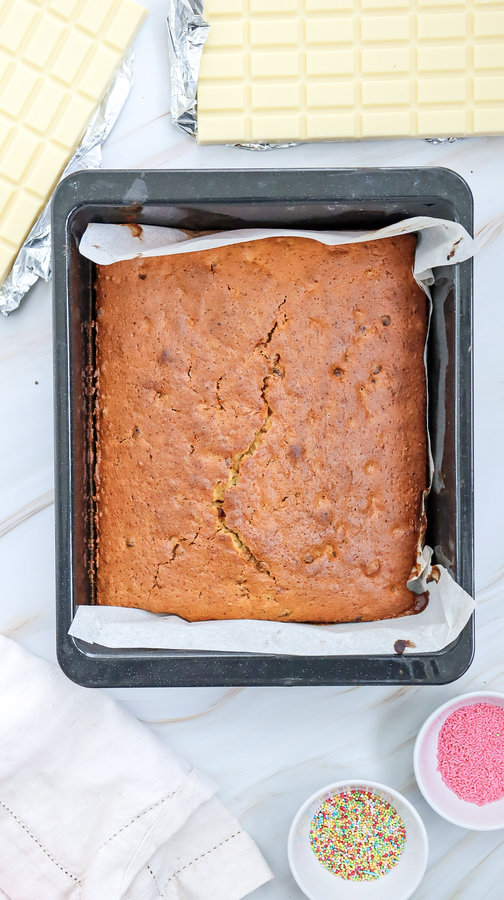
All the way cool, not just a little bit. If you don’t wait you’ll mess everything up and it gets all mushy. I learned that the hard way one time 😅
Step 2: Crumble Everything Up

Your cake is cold now, right? Good. Rip it up into tiny pieces in a big bowl. No chunks allowed! It’s kind of fun actually, breaking apart a whole cake with your hands.
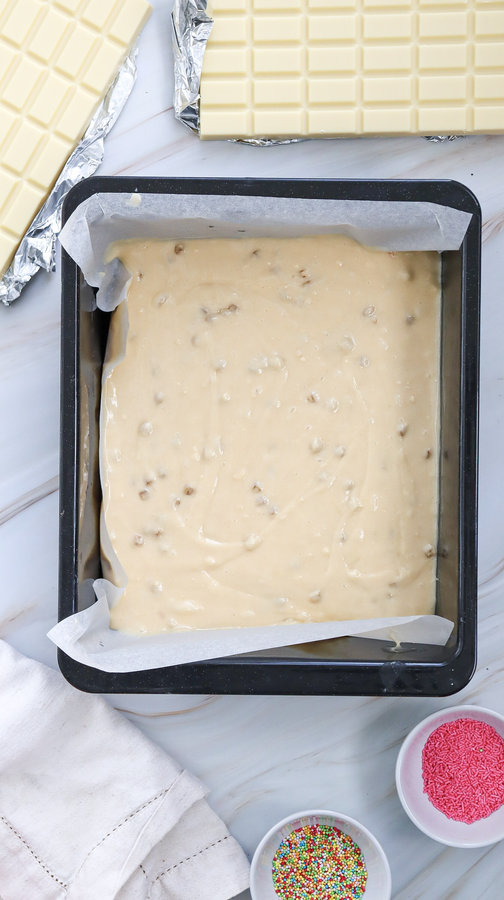
Step 3: Add the Frosting
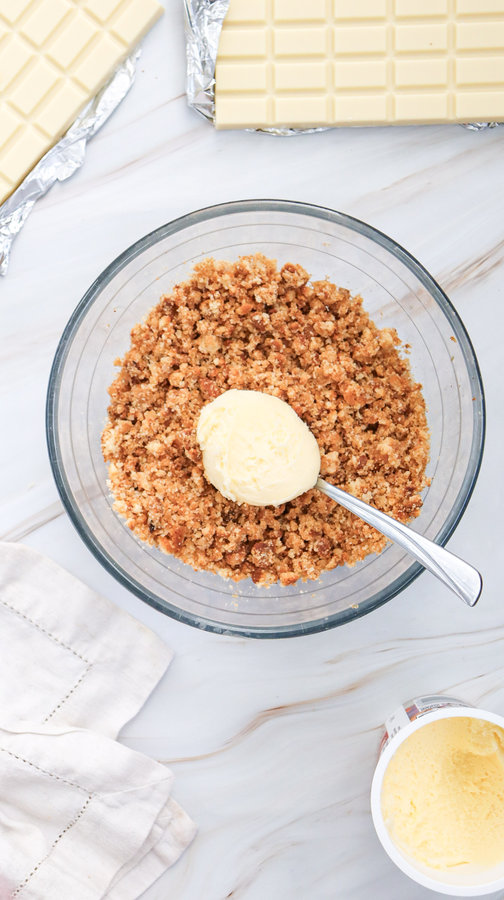
Put all the frosting in there. Mix it up real good. I just use my hands because it works better than a spoon. You want it to stick together like play dough when you squish it.
Step 4: Shape and Chill
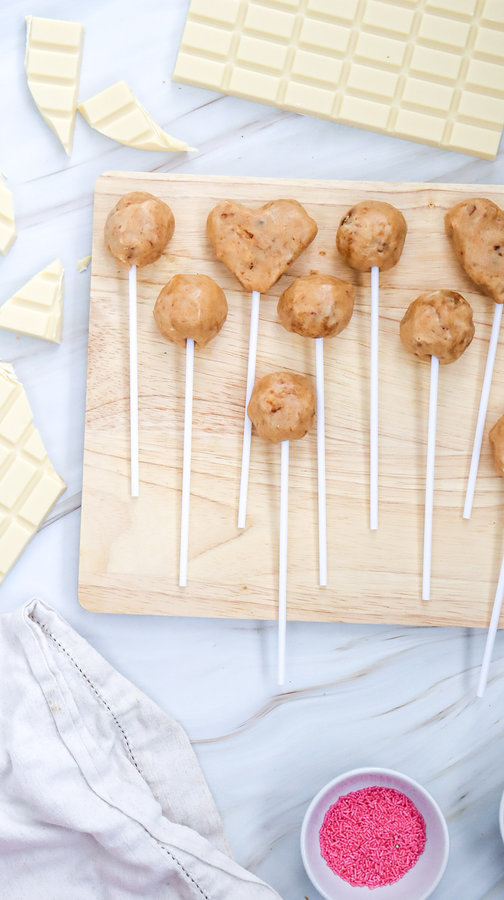
Time to make little balls! About 1-inch big. Should give you like 20 of them or so. Want to be fancy? Some can be heart shapes instead of circles. Put them on a pan with parchment paper. Fridge time – 30 minutes.
Now melt a tiny bit of chocolate, maybe 1 oz. Dip your lollipop sticks in it and poke them into the middle of each ball. That’s how the stick stays in! Back to the fridge they go. This time for 60 minutes so they get really hard.
Step 5: Melt the White Chocolate
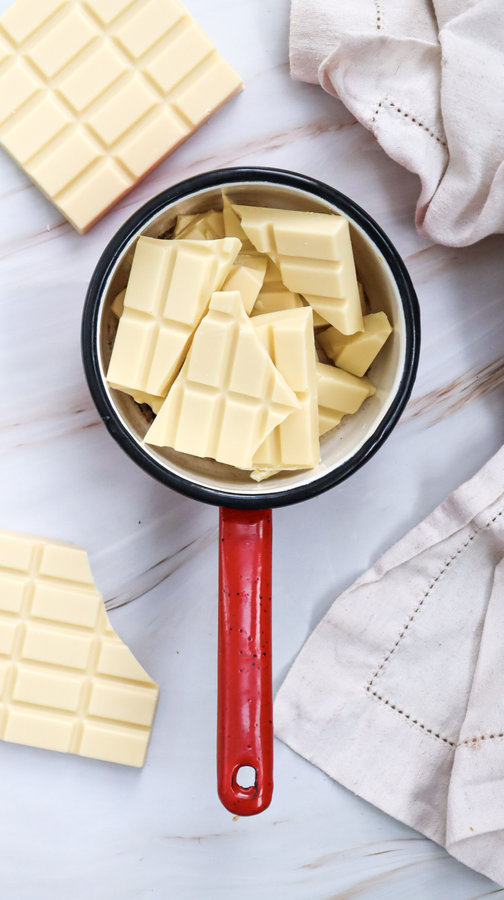
Get a bowl that’s okay for the microwave. Put the rest of your chocolate in there (about 11 oz left). Do 30 seconds, stir. 30 more seconds, stir again. Keep doing that til it’s all melted and smooth. Don’t rush or it burns!
Step 6: Make it Pink!
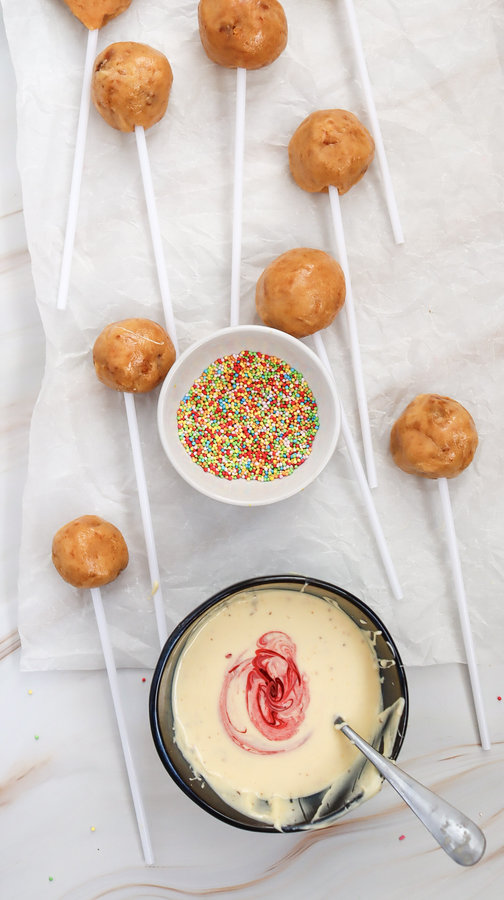
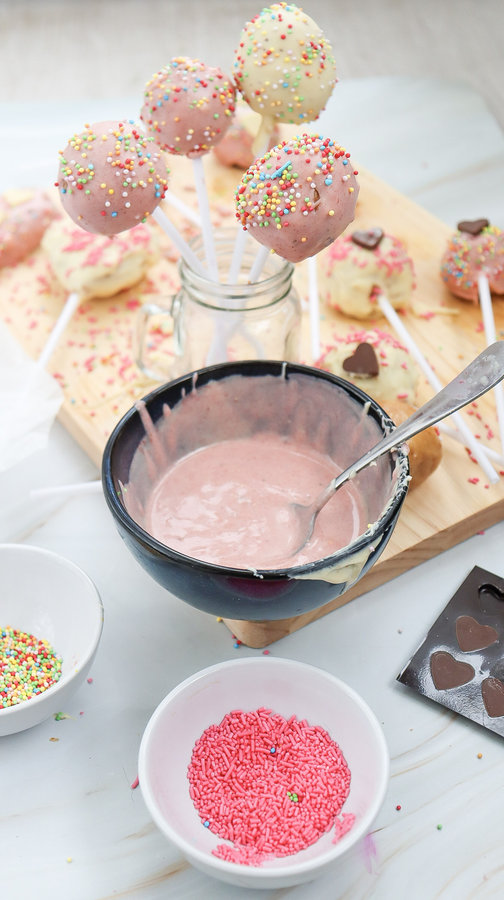
You need two bowls now. Split the chocolate between them. One stays white. The other one gets pink food coloring added to it. Start with a couple drops and add more if you want it darker. I think having both colors is prettier than just one!
Step 7: Dip the Pops
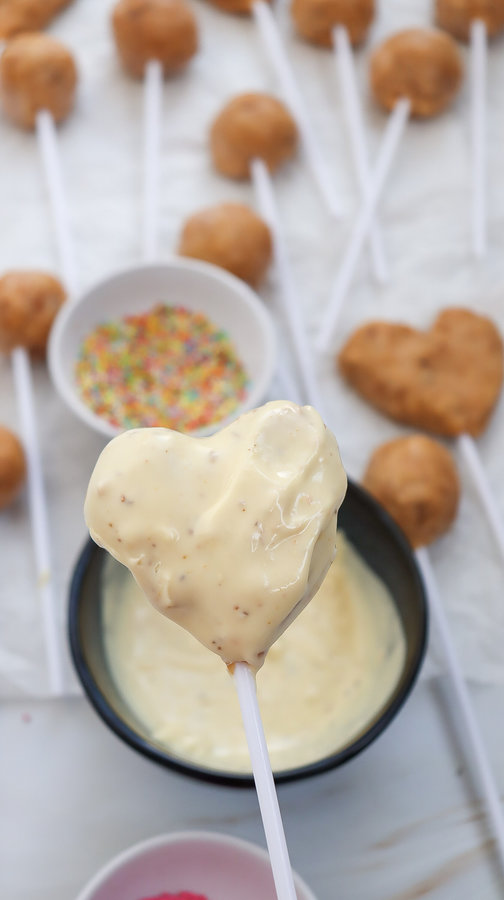
This is the fun part! Some pops go in the white chocolate. Others go in pink. Make sure the whole thing gets covered. Let the extra drip off into the bowl. Takes a little practice to get good at it but whatever, they’ll taste good either way.
Step 8: Let Them Set
Stick them back on the pan with the paper. They need to dry now. Just leave them out or put them back in the fridge for like 15-30 minutes. Wait til the chocolate is totally not wet anymore before you touch them!
Step 9: Decorate

Now you get to make them cute! Stick those little heart candies on them. Sprinkles are good too. Writing icing works if you want to put words on them. Whatever you think looks nice, just do it.

Quick tips: The cake balls can sit in your fridge for 2 days before you dip them if you want to make them ahead. Decorate them however you want for Valentine’s Day!

Valentine’s Cake Pops
Ingredients
- 1 cake mix the 9×13 inch size — any flavour you like (approximately 3-4 cups crumbled)
- 1 tub Betty Crocker ready frosting 15.6 oz (any flavour that complements your cake)
- 20 lollipop sticks
- 12 oz white chocolate chips or melting white chocolate
- Pink or red food colouring as needed
- Heart-shaped chocolates or icing for decoration
- 2 tbsp sprinkles of your choice
- writing icing optional
Instructions
- First, bake a cake according to the package instructions or your favourite recipe. Allow it to cool completely.
- Once the cake is cool, crumble it into a large mixing bowl. Ensure it’s completely crumbled with no large pieces.
- Add the entire tub of Betty Crocker frosting to the crumbled cake. Mix well until everything is combined and you can form a dough that holds together.
- Using your hands, roll the mixture into small balls, about 1-inch in diameter. You should have about 20 balls. For a special touch, take some of the mixture and shape them into heart shapes instead of round balls.
- Place the heart-shaped and round cake balls on a baking sheet lined with parchment paper. Once formed, refrigerate them for about 30 minutes to firm up.
- Melt a small amount of white chocolate (about 1 oz) in the microwave. Dip the end of each lollipop stick into the melted chocolate and then insert it into the center of each cake ball. This step helps to secure the stick . Place the heart-shaped and round cake balls on a baking sheet lined with parchment paper. Once formed, refrigerate them for about 60 minutes to firm up.
- In a microwave-safe bowl, melt the remaining white chocolate (11 oz) according to package instructions until smooth. Do this in 30-second intervals, stirring in between to prevent burning.
- Divide the melted white chocolate into two bowls. Leave one bowl as is for white chocolate and add pink food colouring to the second bowl, mixing until you reach your desired shade.
- Dip some cake pops into the bowl of melted white chocolate, ensuring they are fully coated. For other cake pops, dip them into the pink chocolate until fully coated. Allow excess chocolate to drip off.
- Place the dipped cake pops back on the lined baking sheet and let them cool completely at room temperature or in the fridge for about 15-30 minutes until the chocolate hardens.
- Once the chocolate is set, decorate with heart-shaped mini chocolates, sprinkles or use icing to write sweet messages on the pops. Get creative and personalize them!
- Once decorated, your Valentine’s cake pops are ready to be enjoyed. Enjoy sharing them with friends, family, or that special someone!
Notes
– Feel free to customize the decoration based on your Valentine’s theme!