Halloween Candy-Dipped Oreos
October gets me excited every year, but it’s not just the pumpkin lattes and cheap horror movies (though I need those, too).
It’s Halloween—the one time of year when you can shamelessly cover pretty much anything in bright candy and sprinkles and call it “spooky.”
And if you ask me, Halloween Oreo treats are the lazy genius snack we all need in our lives.
You don’t need any baking skills, zero stress, and the only thing you’ll break is maybe your willpower to wait until the candy coating sets.
Save for later:

You get the fun combo of gentle chaos (sprinkles everywhere, my friend) plus the chance to make cookies look like they came from a candy shop.
If you’ve got kids, they’ll swoop in. If you don’t, more for you.
So, whether you’re semi-pro with a piping bag or your last “baking” experience was just opening a bag of chips, I’m here to walk you through this. You’ll see, Halloween Oreo treats are as easy as they look—maybe easier.
Ingredients
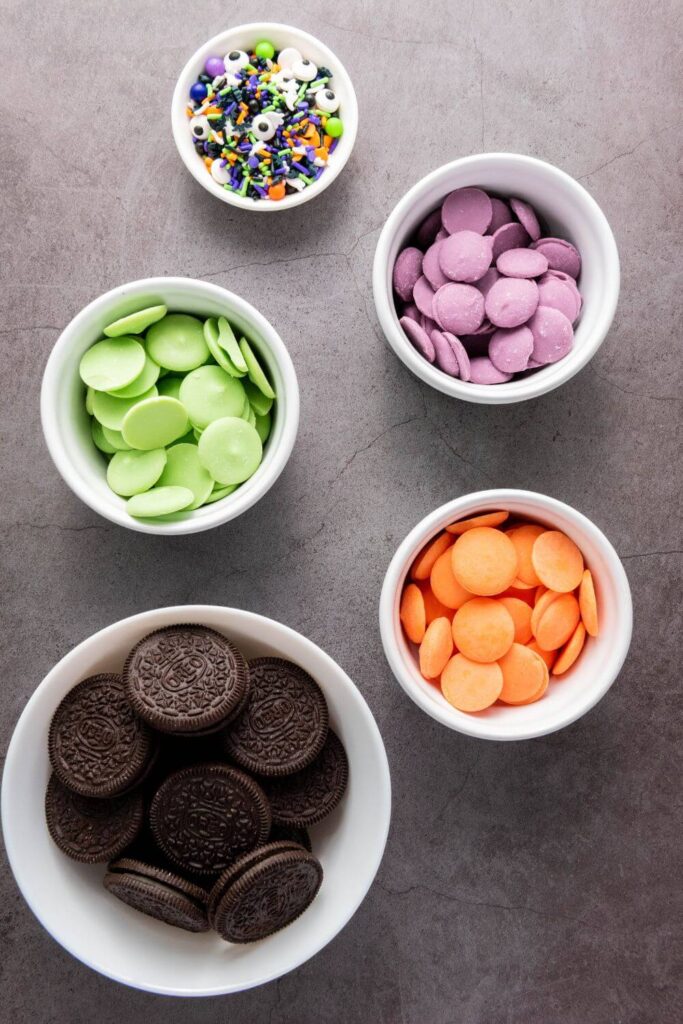
A little color here, a little crunch there… and you get treats that scream Halloween without any drama. Here’s what you’ll want to have on hand:
- 12 Oreo Cookies
I use classic Oreos, but honestly, any flavor works. Got gluten allergies or dietary needs? Swap in gluten-free or plant-based sandwich cookies. No one will notice. - ¼ cup Purple Candy Melts
These are easy to find at craft stores or online. Melting chocolate chips and adding a bit of purple food coloring also works if you’re in a pinch. - ¼ cup Green Candy Melts
The monsters always need a bit of green. If allergies are a thing, check labels to dodge nuts, dairy, or soy—there are allergy-friendly brands out there. - ¼ cup Orange Candy Melts
This color just screams pumpkin patch. No orange candy melts at your store? White chocolate with orange food coloring is your friend. - Halloween Sprinkles
Grab whatever looks festive—bats, bones, eyeballs, or just orange and black jimmies. I like picking a mix for a fun look, but you can keep it simple or wild.
Equipment you’ll need
- Parchment Paper or Silicone Baking Mat
This keeps things from sticking and makes clean-up a breeze. - Microwave-Safe Bowls
You’ll want one for each color of candy melt. - A Fork or Dipping Tool
Life hack: a cheap plastic fork works. Dip, drip, repeat.
That’s it. No mixers, no fuss, no fancy gadgets. Just high-impact snack action.
How to Make Halloween Oreo Treats
Getting these cookies ready is part messy art project, part snack attack. The best part? You can’t mess them up. The more “monster” they look, the better.
1. Preparation
First things first—set up your treat factory. You want some space to let your spooky side run wild without wrecking your whole kitchen.
- Line a Baking Sheet:
Lay down parchment paper or a silicone baking mat. This step keeps your Oreos from sticking to the pan. It also gives you one less thing to scrub later. - Sort Your Sprinkles:
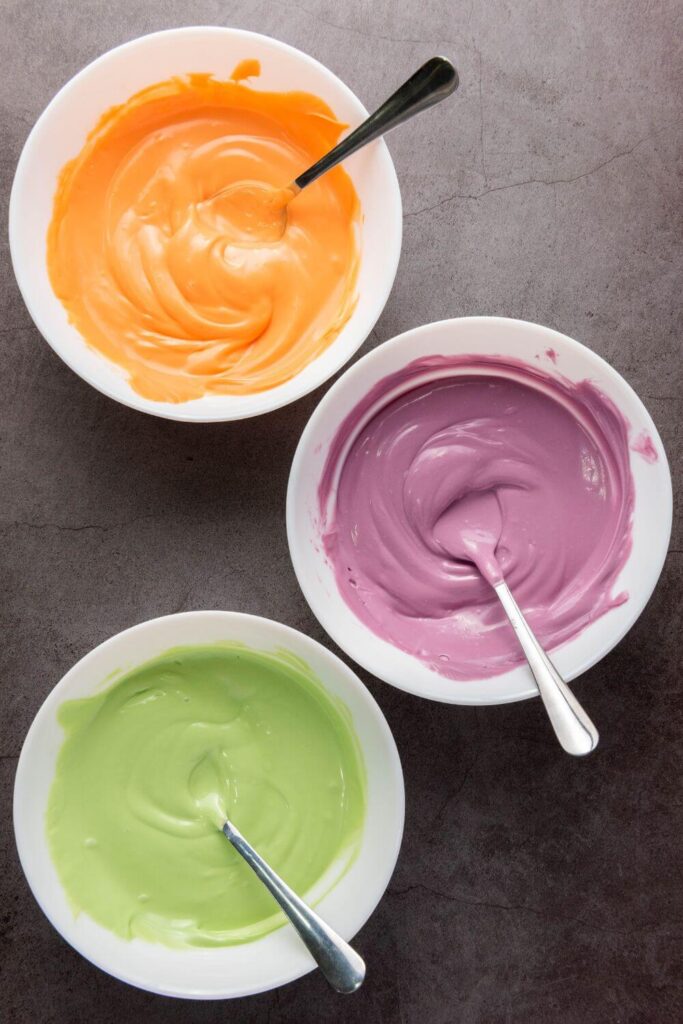
Pour those Halloween sprinkles into small bowls. Trust me, it’s a lot easier to grab what you want when your hands are covered in chocolate. - Melt the Candy Melts:
Put each candy color in a separate microwave-safe bowl. Microwave for 30 seconds at a time. Stir. Keep nuking and stirring until smooth. Don’t rush it or you’ll scorch the melts and that’s the only real way to mess up.
- Prep Your Oreos:
Have the cookies ready to dunk. If you’re working fast—especially with helpers—get a little assembly line going.
If your green or orange is too thick, mix in a teaspoon of coconut oil or shortening to thin it out. Chocolate behaves better if you’re kind to it.
2. Decorating the Oreos
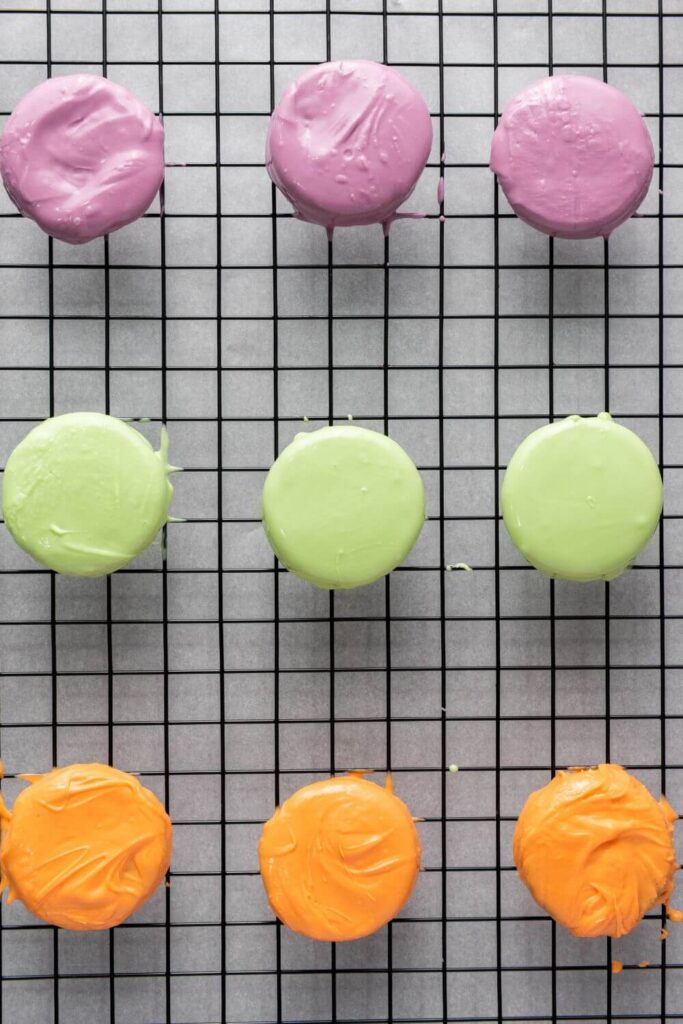
Use a fork or dipping tool to fully coat each Oreo in the melted candy.
Hold the cookie above the bowl and let any extra candy drip off, then place it on the lined baking sheet.
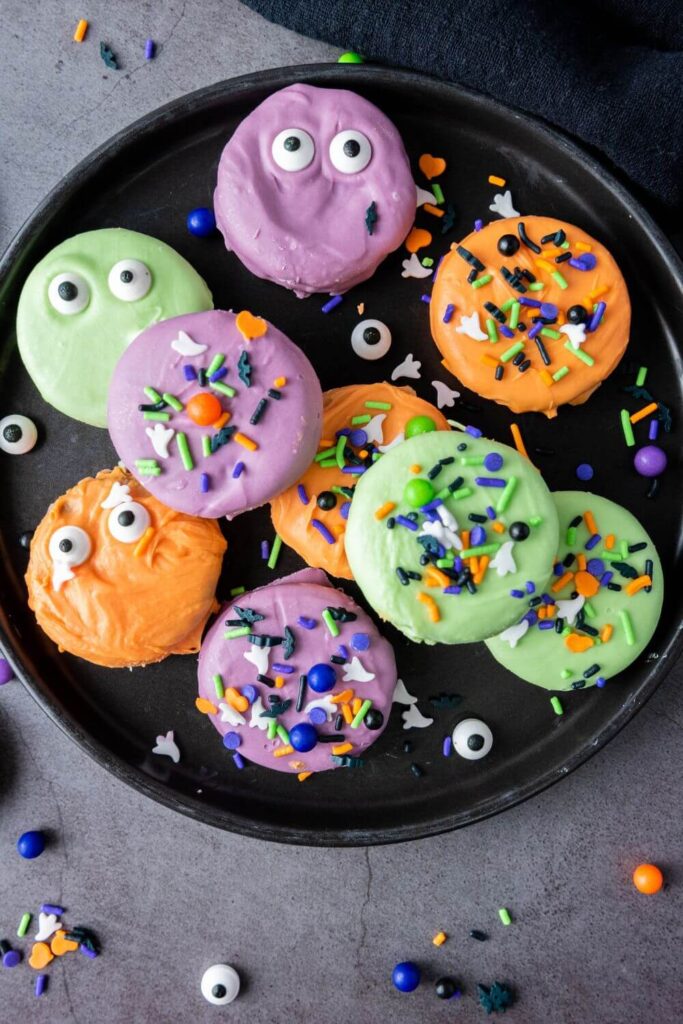
For bright variety, dip 4 Oreos in purple, 4 in green, and 4 in orange candy melts.
While the coating is still wet, sprinkle a generous amount of Halloween sprinkles on top of each Oreo.
Be sure to work quickly—sprinkles stick best before the candy hardens.
Try using different shapes, colors, and mixes to give each cookie its own look. Space the Oreos apart on the sheet so they don’t touch while setting.
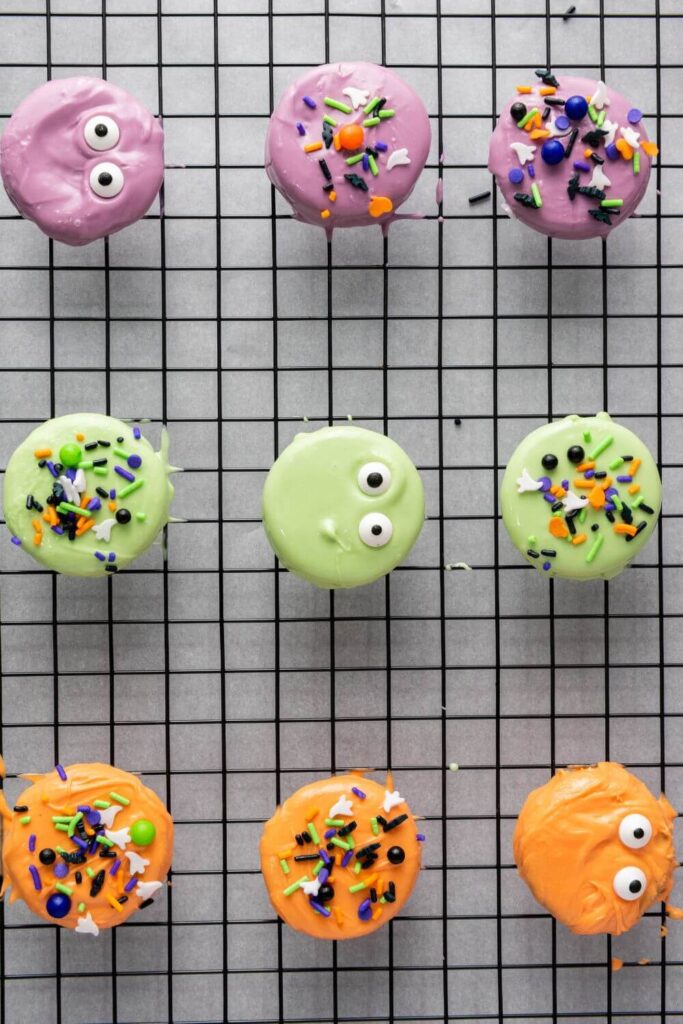
The more creative you get with your sprinkles, the more fun and festive the treats will look. No two have to be alike, so have fun making each Oreo stand out.
3. Setting and Serving
You’re almost at the finish line—and your kitchen still looks decent! Here’s how to wrap it up:
- Let Treats Harden:
Let the Oreos set out at room temp for 30 to 60 minutes. If you’re impatient (I always am), slide the tray into the fridge for about 15 minutes. Just don’t stack them until the coating is totally firm, or you’ll get a sticky mess.
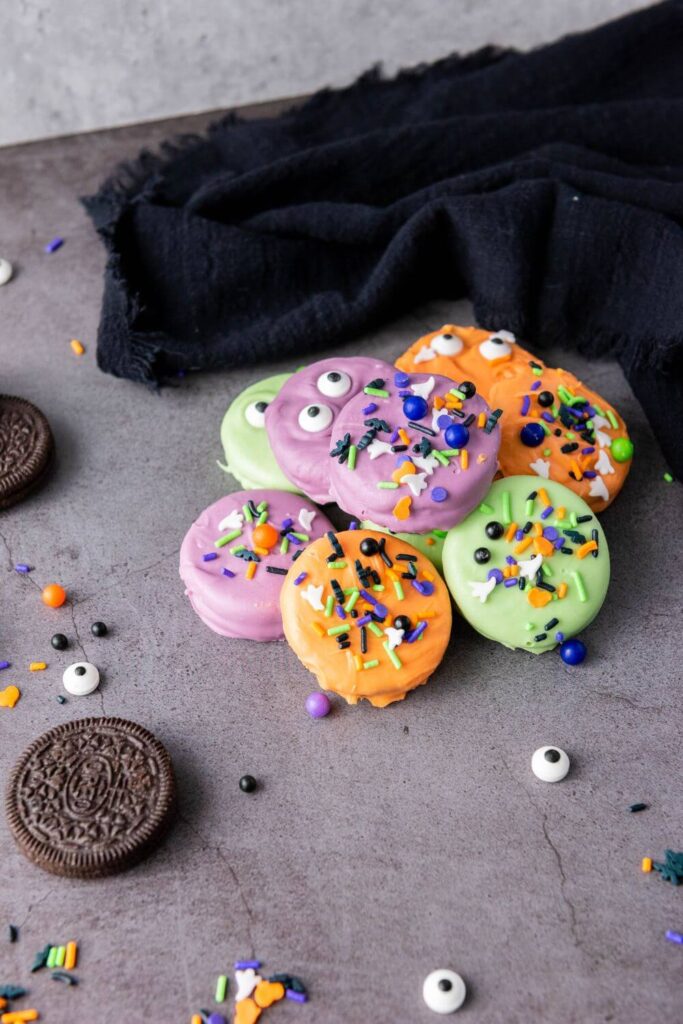
- Serving:
Show them off on a big Halloween plate or tray. Mix up your colors for that burst of festive fun. These treats practically beg to be eaten. - Storing:
Keep leftovers (if you have any…) in an airtight container. Store at room temperature for up to a week. That’s if they’re not gone by tomorrow.


Halloween Candy-Dipped Oreos
Ingredients
- 12 Oreo cookies
- ¼ cup Purple candy melts
- ¼ cup Green candy melts
- ¼ cup Orange candy melts
- Halloween sprinkles e.g., bats, pumpkins, ghosts, and other spooky shapes
Instructions
- Line a baking sheet with parchment paper or a silicone baking mat.
- Separate the Halloween sprinkles into small bowls for easy access.
- In three separate microwave-safe bowls, place the purple, green, and orange candy melts.
- Microwave each bowl one at a time, in 30-second intervals, stirring after each interval until the candy melts are fully melted and smooth.
- Using a fork or dipping tool, dip each Oreo cookie into the melted candy until fully coated. Allow the excess candy to drip off before placing the cookie onto the prepared baking sheet.
- Dip 4 Oreos in purple, 4 in green, and 4 in orange candy melts for a colorful variety.
- While the candy coating is still wet, generously sprinkle the Halloween sprinkles over the top of each Oreo. Get creative with your sprinkles to make each Oreo unique and festive.
- Allow the decorated Oreos to sit at room temperature until the candy coating has completely hardened. This can take about 30 minutes to an hour. If you’re in a hurry, you can place the baking sheet in the refrigerator for about 15 minutes to speed up the process.
- Once the candy coating has set, arrange the Halloween Oreos on a festive plate or store them in an airtight container until ready to serve.